Monday, September 26, 2011

Mediterranean Omelet

I am a recent inductee (within the last year) to the world of artichokes. I was first introduced to them by our friends, Patrick and Gioia. Skeptical as I was, I couldn't get over the delicious flavor and salty taste. They are very convincing little buggers.

Gioia prepared hers as full artichokes, stuffed with deliciousness. You would break off a section and scrape off the stuffing with your teeth. So yummy.

Since then, I've been more apt to try out various meals with artichokes, something I never would have done before. Last year, on a weekend away with my Hubs, we discovered artichoke omelets and just about died. Delicious.

The trend I've seen is that if the omelet includes artichokes, it is usually referred to as a Mediterranean Omelet and usually also contains spinach.

Friends, we bought artichoke hearts ourselves at the store this week. Call that a milestone in the marriage if you want to. :)


So tonight, I made my own Mediterranean Omelet.
I included spinach, cherry tomatoes, artichoke hearts, and mozzarella cheese.


How's that for domesticated? :) 

Wednesday, September 21, 2011

Caprese Salad Deliciousness

While up yonder in Nor Cal land over Labor Day, the G and I went to the little town's Farmer's Market to sample some delicious eats.

We got tri-tip skewers, tomales, blueberry pie, and caprese salad.
I'd never heard of caprese salad before, but I'll tell ya what. It rocked my world.

It's a simple little combination of tomato, salt, mozzarella cheese, basil, and olive oil or balsamic.
So simple.
So good.
So fresh.

So...easy to make myself! :)

Never, ever, ever, ever, ever, ever, ever, ever.....ever....will I claim to be a chef.

So when I can find something easy to make, by golly, I make it.

Ready for this recipe?

Get some tomatoes. I got red ones. But the yellow ones are so sweet and scrumptious. Next time.
Get some salt.
Get some mozzarella. Preferably the big block.
Get some basil. I prefer to chop it up. Makes it easier to eat.
Get some olive oil.

Slice the tomatoes. Put on plate. Sprinkle with some salt. Slice the mozzarella. Put on top of tomatoes. Chop the basil. Put on top of mozzarella. Drizzle with olive oil or balsamic.

Here's another fun option. Eat chilled, or eat heated! Yowza's!

Tonight I tossed mine into our little toaster oven for a couple of minutes, let the cheese melt a little, then pulled 'em out and sunk my fork into those puppies.

Scrumptious.

I dare ya to try it. :)


Tuesday, September 20, 2011

Nationball: Dodgeball on Steroids

In my last post, I shared a little bit of the stresses of my job. Those overwhelming 80's themed trips to the local roller skate rink just stress me out! (dripping...dripping with sarcasm)

So what is it that keeps G from sleeping at night? If you thought 80's roller skating was bad, this is almost unbearable. :)

Every year, near the middle of September, when students are still getting settled into their dorms and familiar with their new class schedules, there is an event that makes all else jump one number down on the priority list. All inhibitions are thrown out the window. All worry of making a good impression? Tossed. Costumes are mandatory, throwing arms a must, and music is blaring as students line up, dorm against dorm, in the biggest dodgeball tournament most have ever seen.

It's crazy.

Stewart (our dorm) is in the red. 
Yes, we consider each one of those red-wearing t-shirts one of our kids. 
We don't start at the infant stage. 
We start at the 18 year old, what's your name again?, really loud college stage. 
They're pretty cool. 


This is Stewart (red) taking on Horton (black). 
There is really hardly any room left to play dodgeball. 
There's a lot of dancing, costume strutting, goofing going on. :) 

One rule that they hold to that I've never seen before is that once you get knocked out, you can still actually play. You can run to the back of the other team, get your team to throw the balls over their heads, and then get them out from the other side. So near the end of the game, 
you've got dodge balls flying at you from all angles. 


A good shot of most of the colors. 


Here are more pictures, with lots of the costumes highlighted. 

And finally, here's a video made by one of the students: 
It highlights Horton, but shows a lot of the crazy that goes on. 
You'll notice some "rescuing" near the middle of the film. 
The green team is Emerson, a smaller dorm that usually doesn't have a chance at winning so they make it theatrical. This year they were dressed as doctors and nurses and were putting band-aids on the fallen and doing shock treatment on the "mortally wounded". Clever. :) 

There's always something going on around campus. 
Keeps us young, I guess. :) 

We love it. 

Friday, September 16, 2011

The 80's & Overly Edited Photos


Sometimes...sooooometimes...I get a little convicted about only posting really polished pictures or writing blogs about successful projects. Why? Because only about 1.8% of my life feels polished, or super successful.

It feels chaotic.

Here's to the 98.2% of my life that makes up the ridiculous, not acting like a 28 year old portion of which I wouldn't change a thing. (Except in those moments where I wish I had a successfully run etsy shop, a thriving photography business, and a morning routine that included a small town cafe where the waitress knew my name and never had to ask what I wanted to eat...an omelet, a cup of coffee and some toast with blueberry jam, thank you!)

A weekend of Student Ambassador Training.
Lots of crazy kids.
An 80's themed trip to the local skating rink.
A salvaged thrift store dress.
A couple of very dramatic side pony tails.
Dance-skating.
Epic.

Thanks, Biola kids students, for letting me hang out with you and not making me your late 20's supervisors feel like the old fogies. :) Even though only one or two of you were ACTUALLY alive in the 80's...and it was like (like) 1989 and a half.


Saturday, September 10, 2011

Labor Day Tradition

As far as holiday tradition goes, Garrett and I don't have much that we do the same each year. We've spent a Christmas in Colorado with friends, a Christmas by ourselves in Utah, and a Christmas back home with family. I feel like every year we're asking ourselves what we're going to do, 'cause it's never been the same. 

But there's one holiday that we automatically know what we're gonna do. No question about it. 

Labor Day. 

For the past four years, we've driven the long road North to Brad & Sharon's in Calistoga. (Brad is one of Garrett's older brothers) They have two girls that we adore, and they live in a small town where the pace is slower. All the locals know each other, and they know who the tourists are, so we usually get asked where we're from. The weekend is always so relaxing, a nice break from the much more crowded Southern California. It's a place riding bikes to the store, or to a bakery in the morning for fresh coffee and quiche is the norm. On our way in to town this year, as we rode behind Brad, Sharon and the girls on their bikes, Garrett and I looked at each other and said, "We've got to live in a small town." We love it. It feels so very right. 

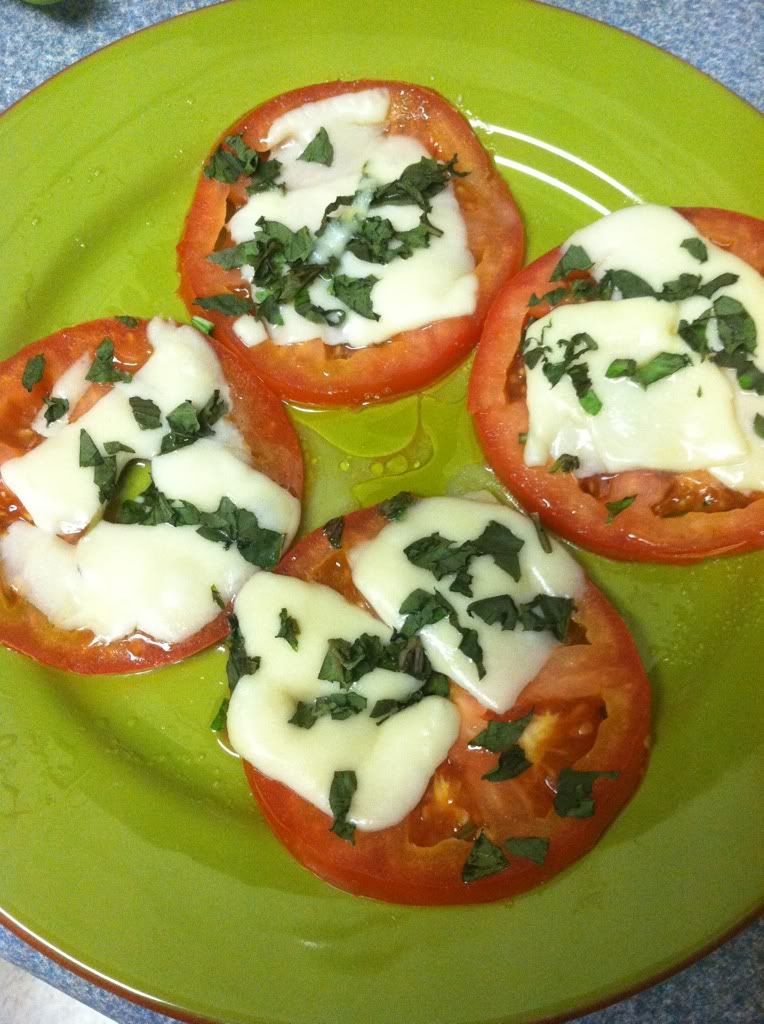
In the summer months, May through October, there is a local farmer's market in town where townies bring their delicious foods, crafts, flowers, fresh fruits and vegetables (the list goes on) to a parking lot where they set up canopies and sell these delights to the crowds that gather. There's usually music playing in the background, and it's so fun to walk around with our four year old niece, who takes her money to the tamale tent and orders up her regular. She knows so many people in town, and they all smile at her and say "Good morning, Monica!" as she makes her way around the temporary thoroughfare. We enjoyed some tri-tip kabobs, a tomato/mozzarella/basil/oil salad, and blackberry pie. 

Brad, who owns the town's bike shop, usually stays pretty busy while we're there, as Labor Day is a great weekend for business. He does sneak away as much as he can to join us for whatever little adventure we're doing. This year we spent a couple of afternoons at the pool, where Monica has become quite the little swimmer. She's jumping off the diving board now, with no floaties, swimming to the edge of the pool, climbing out and doing it all over again. 

We also always come knowing that we're going to eat some very good food. This year we had all kinds of stuff, from tuna steaks and delicious salads, to gourmet burgers and sweet potato fries, broccoli salad, grilled pizzas, guacamole, corn on the cob, and many more mouth watering treats. For dessert, Brad whipped up a delicious strawberry/blackberry topping for vanilla ice cream that I just couldn't get enough of. So good. 

The drive is long at 7-10 hours (depending on traffic), but it's so very worth it. The company is great, we always get lots of good time outside, biking or hiking, running or walking around town. And it's just nice to be with family, even if it's a quick trip. 

Here are some pictures from the weekend. So fun. 

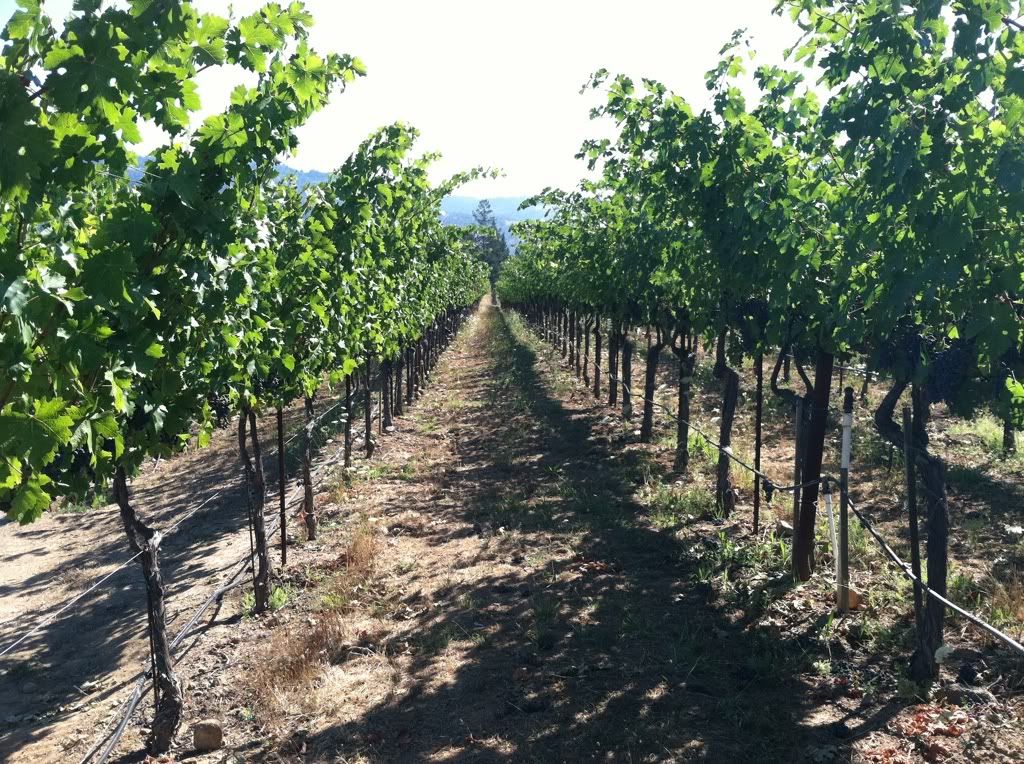
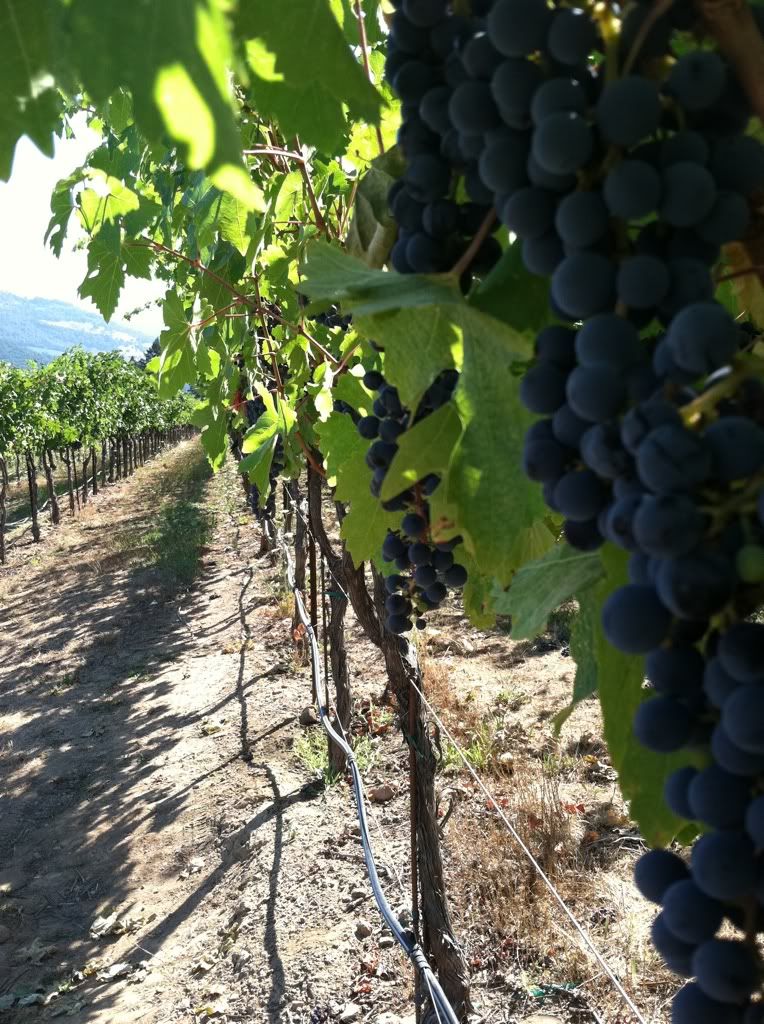
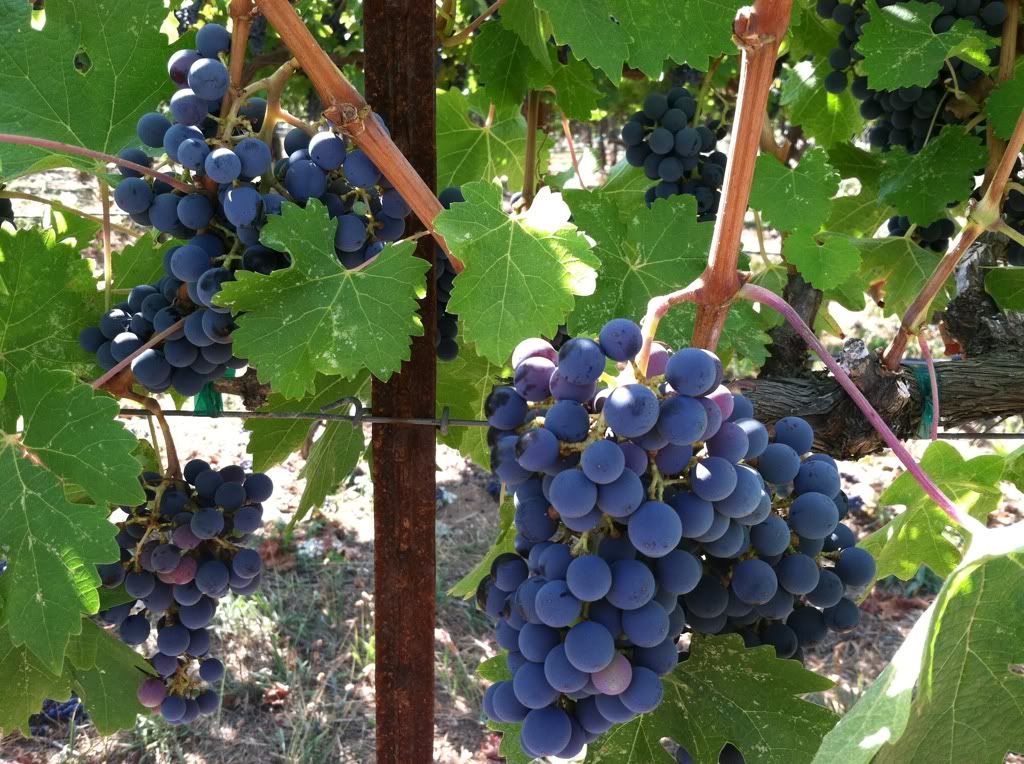
Vineyards in Napa Valley. It's beautiful this time of year. The grapes are almost ready to go! 


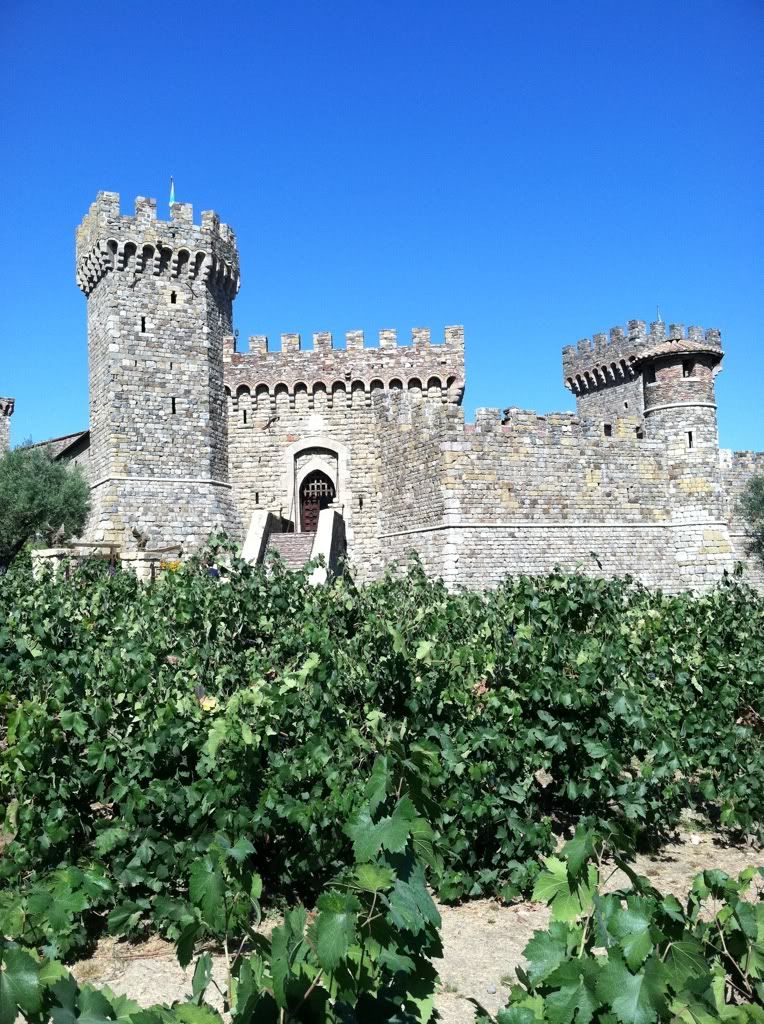
A castle at one of the vineyards! 


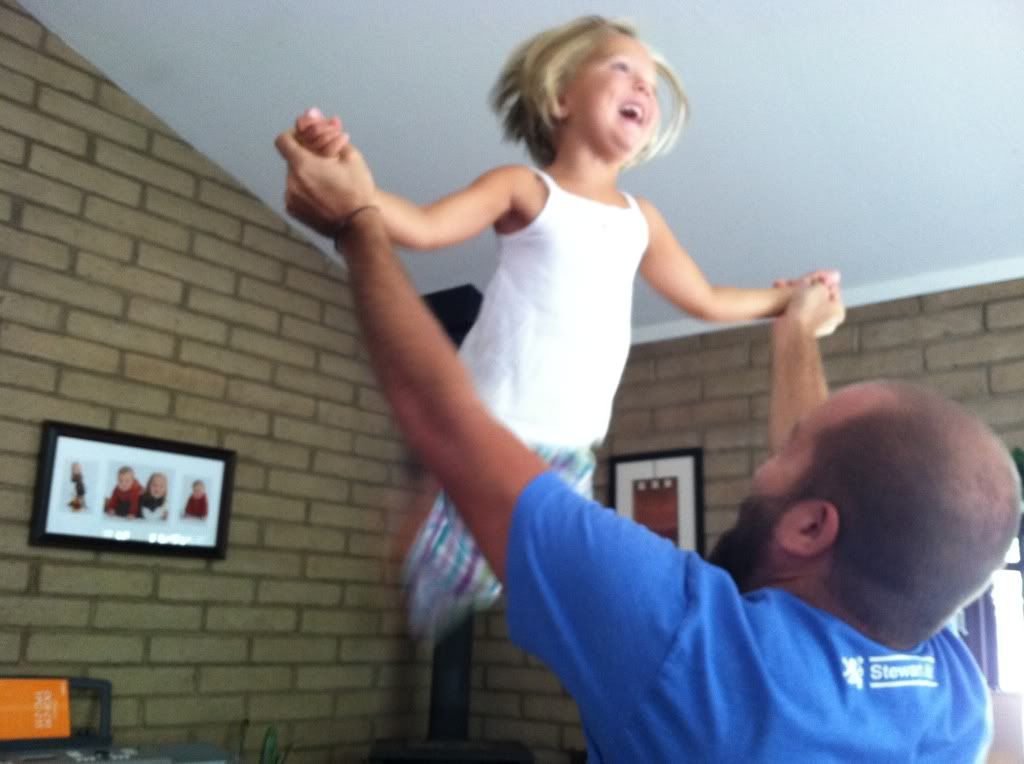
Uncle G throwing Mo in to the air! :)


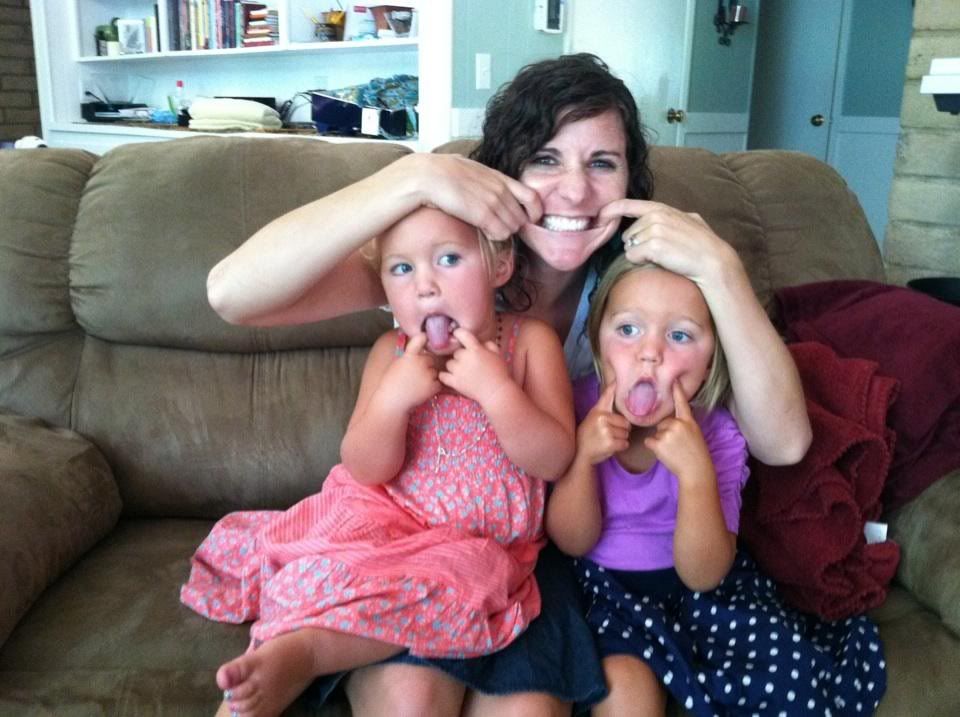
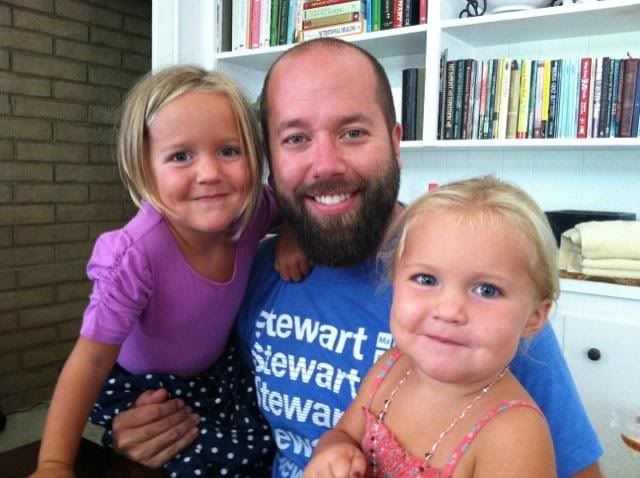
Makin' silly faces with Myka and Monica
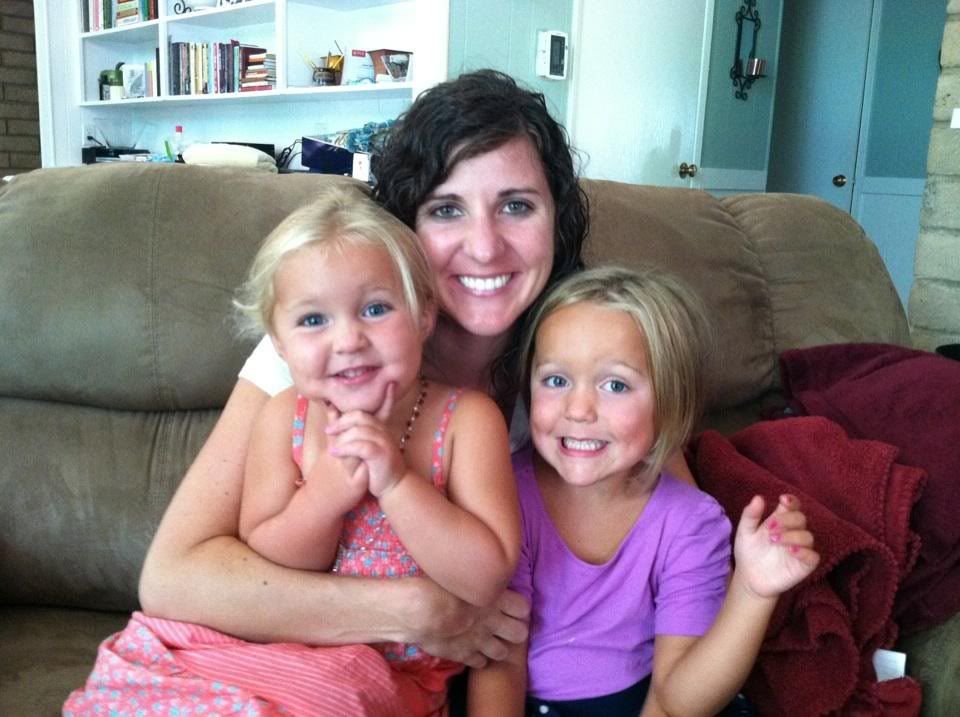
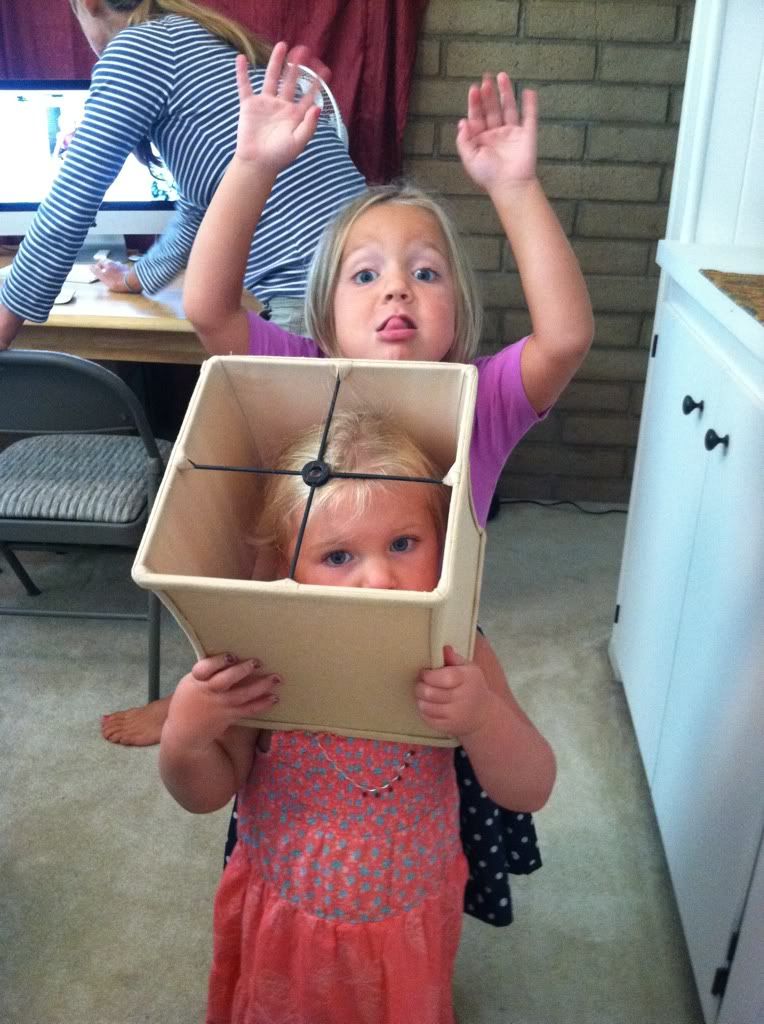
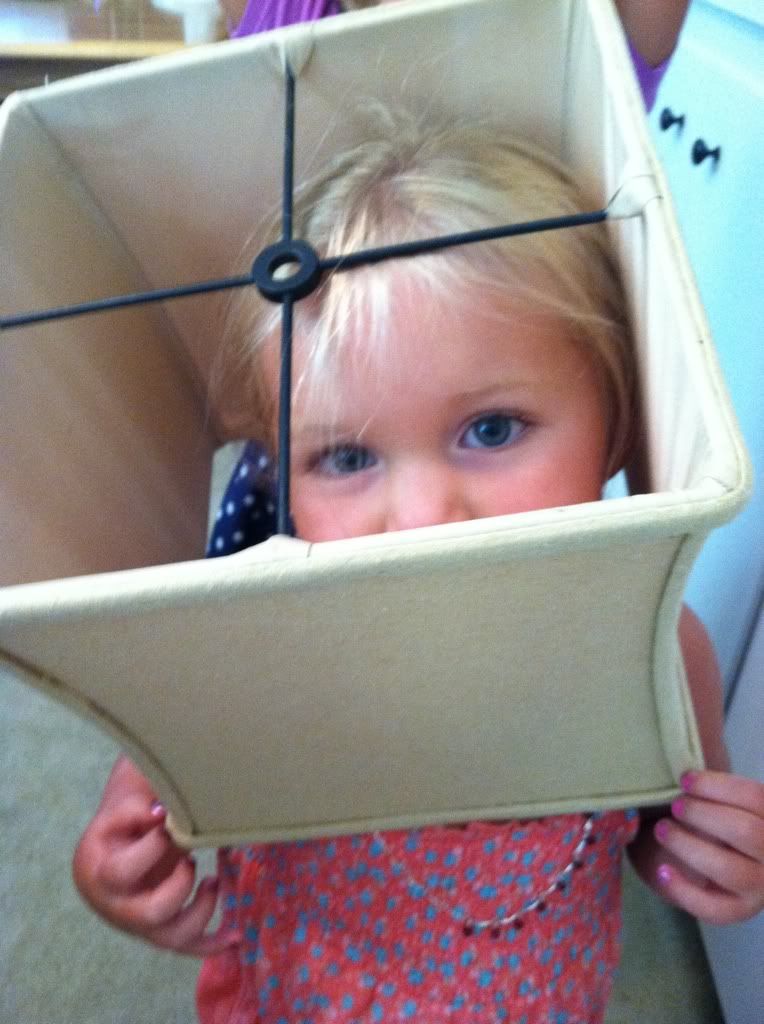


Sweet girls. 


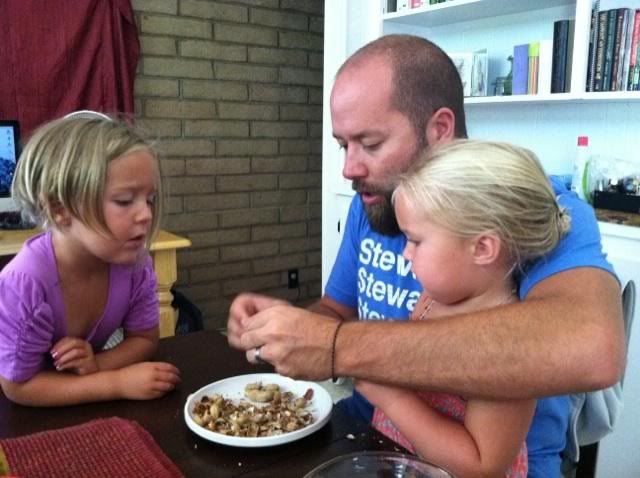
Mykie was a little wary of Uncle G at first, but when she discovered that he was the only one who could teach her how to shell peanuts (we all pretended we didn't know), she eventually warmed up to him and ended up sitting on his lap the last day we were there! Win! We think the beard throws her off.


Already lookin' forward to our next trip up! :)

Friday, August 19, 2011

Do it Yourself: Framed Fabric

For the three years we've lived in our little apartment, I've had 3 plates hanging on the wall in the kitchen. I love the idea of plates hanging on a wall. I ripped out a page from a magazine several years ago with plates that had various shades of green and gold hung on the wall. But in that case, as in most, there are several plates involved. For example:


Awesome, right?

But, I don't have that many plates right now. It's something you've got to work at over time. (grin)
Hand picking just the right combination of plates from various estate sales and thrift stores till your collection just can't keep itself off of your walls!

You can see my measley attempt at a wall hang in the corner of this picture. 


And again in this picture...


Ok, let's be honest. I just wanted to show you my sweet husband in a pretty apron. :)
One more time...


Haha. Well played, baby. Well played.

ANYWAYS...I have three plates. 
They aren't pretty, hand-picked estate sale plates, and I need the big one to serve deliciousness in from time to time.  

So they had to come down.

I needed something else. Something that would go in the plate holders that I'd already screwed into the wall. (Sorry, facilities!) Something, cheap, quick and round...

Embroidery hoops + Pretty fabric = cheap, quick and round!

I can't recall where I originally saw this idea, but I've wanted to try it for a while.

Here's the quick how to:

#1 Pick out some pretty fabrics. I just grabbed a couple of the small fabric quarters at Joanne's. 
I think they were something like .99 a piece. 


Then I picked up some embroidery hoops at a thrift store, ranging from 50 cents to a dollar a piece.


I laid each hoop on the selected fabric, and then cut a generous square out. 
Then I placed the fabric in the hoop, stretched it taut, and tightened the hoop down. 


I then flipped the hoop over, and cut the excess fabric off with a sharp pair of fabric scissors. 


Flip it over. 
Done! 


I feel silly even making a tutorial. Ha! 

Aaaaaaand, put it on your wall! 
Ding!


This whole process took...abooooout...15 minutes. Tops. 
Cheap. Quick. Effective. 

For more ideas on what you can do with embroidery hoops and 
fabric (like use it as a pinboard!), check out some of these creative crafts on Etsy!

:)

Wednesday, August 17, 2011

Red, White and...Candy!

Opening Weekend for Biola University is just two days away! It's crazy that all our work in Admissions for this year is about to step on campus in the form of new-freshman-college-students! 
We are pumped. 

And frankly, so is the rest of campus! 
Every department decorates their entrance so as students arrive, they see-a-sea of red and white! 
This year, a couple of girls and myself signed up to be on the decorating committee. 
I put together the table area, and they did the floor, wall welcome, and ceiling.


The paper on the wall is a "Scathing Warning" to our staff not to touch the candy. :) 
It's for our guests!


We are also doing a giveaway for new freshman and transfers. 
They can win their first dorm pet! :)
You can't see the writing very well here, but it says that in order to win 
"Barry the Beta Fish" (named after our school's president) they need to fill out 
a raffle ticket and drop it in the bucket. Yes, Barry the Beta is also a lovely shade of red.


The circle graphic I took of of The Graphics Fairy blog. 
She has some really unique graphics that you can use for all kinds of projects. 
My favorite, though, are the labels. You can use them for so much! 


I dropped the label image into Pages, a program on macs, and added the text. 
It made for easy labels that I think really helped pull the look together. Other than that, I just bought every white and red candy I could find, took random jars from my kitchen and put it all together. 

Alyssa used streamers that she twisted to write a welcome on the wall. 


They also made polka dots and lined the floor as well as grass, birds, and clouds! 


Definitely a fun day in the office! :) 

Friday, August 12, 2011

New Additions

This past weekend, The Mr. was out of town and I decided to do a little redecorating. :) I felt the need to get the apartment a little more organized before jumping into this year. We specifically needed an organizer for our mail, computer, etc. as well as some space created on our kitchen counters.

A couple months back we purchased a secretary desk off of Biola Classifieds for $40 and we were in the process of refinishing it. I hadn't yet picked a paint color, so I figured it could wait, we'd use it in its natural state for now, and we could paint it after our next move (whenever that is) to match a future home. So...I brought it in!


 It's the perfect size, I actually love the unfinished look (good job, Garrett!), and it closes up so nice and neat and no one has to look at our messiness when they come over! Success!

The second need was a little tougher. How do you create space in a kitchen that just doesn't have a ton of counter room? The only thing I could figure was to take stuff off the counters and put it on something else. So I'd been looking for a kitchen cart type piece for a while. I just wasn't satisfied with what I was finding. Usually they were cheap pieces that were going to run me $75 or more. 

But this weekend, while out on my "find cheap things shopping extravaganza" I ran across 
this little beauty at one of our local thrift stores for $10. I took two good looks at it, set my 
stuff on it and waited for some guy to show up and help me get it into my car! 
Exactly what I was looking for and at the right price! 


This cleared off one whole counter space and we were able to shift other things so that the kitchen counters are a whole lot less cluttered! Our apartment's feeling a little more homey and a lot more organized. I think we're ready to hit year four! :)

Wednesday, August 10, 2011

$3.00

This is what $3.00 looks like.


The dress was .99 cents.
The belt was $1.95.


True.
I didn't include the shoes in the total cost of the outfit.
That would make it $25, total.
You got me.

Head to your local thrift store, folks.
Do some good searching.
There are treasures to be found!
:)

Sunday, August 7, 2011

Do it Yourself: Diaper Cake

I haven't had a chance to write about our summer. Garrett and I get two glorious months off during the summer, and we try our darndest not to take it for granted. It is such a HUGE blessings. Uh-mazing.
Maybe, if I can muck up the motivation, I'll write a post about the highlights of our summer. Two months is just a lot. I'll think about it. :)

But one of the weeks this summer we spent at Rachel and Jason's, the Roanoke Suhrs, enjoying their company and playing with our nieces and nephews. I also got the privilege of doing a project for a baby shower Rachel was throwing for one of her friends.

I've been to a fair share of baby showers, and seen diaper cakes there before. Never did I think I'd end up making one. It was actually very easy, totally repeatable, and pretty cute!

#1 Grab a pack of diapers! I used a pack with 50 diapers and it made a medium sized diaper cake. 


#2 Roll each of the diapers and put a small, clear rubber band around each one to hold it in place. 


#3 Use a paper towel roll to begin building your base. Use more diapers on the bottom, and pyramid your way up. Do one layer around the paper towel roll and hold them together with a large rubber band, or multiple rubber bands tied together. 


#4 Do a second layer of diapers on the bottom. You'll have to figure out how many diapers you want for each layer. I don't remember my exact counts, but with 50 diapers it was something like 28 on the bottom, 14 in the middle, and 8 on top. Notice we tied rubber bands together to make a larger one. The middle level was just one layer around, and the top level, I actually scrunched the paper towel roll together so the top level would be smaller than the one below it. 


#5 Use the colors from the baby shower theme to pick your ribbon and accessories. We used a hot glue gun to glue the two ribbons together, and then we used a small pink paper clip to attach the ends at the back of the cake onto the rubber band underneath. Do this for each layer. *Note: It helped to have a second pair of hands when it came to using the glue gun. Rachel ran the gun down the center of the pink ribbon and I followed right behind, lining up the green ribbon with the glue. 


#6 Gerber daisies were my accessory. I cut one off at the head of the flower, and then cut the others so that when I stood them up in the paper towel roll, they were just peeking up over the top of the cake. I used a cardboard box and cut a stand out, and then wrapped it in corresponding wrapping paper. 


Very easy to do, and with pretty results! If anybody tries this out for a baby shower, I'd love to see the colors you pick and your accessories. For a boy, I think you could do any type of little toy alongside it, or spell out their name, or just use the first letter. Lots of options! :)