Showing posts with label baked goods. Show all posts

Thursday, June 2, 2011

Mason Jars + Apple Pie = Delightful

One of our sweet ambassadors tipped me off to a lovely wedding website. 
The ideas are inspiring and fresh and the photos are phenomenal. 
Makes me want to coordinate weddings one of these days...(cough, cough...Mallory)

For now, though...I'm content to gaze at the beautiful colors and take in lots of unique ideas. 
I LOVED this wedding in particular. 

So many fun colors, personal touches and smiling faces. 
Some of the particulars that I love about this wedding are the...

{brooches galore} 

 Brooches in the girls' hair. Brooches for the boys' flowers. Brooches everywhere! 
And of course, it's important that the are all hand-picked and varied. 
            It immediately shows the creative eye of the bride (assuming the bride picked the brooches). 

{the setting} 

I can't give the credit to the bride for designing the breathtaking tall trees and the light streaming between, but she gets the credit for choosing the location and braving the rain! And the umbrellas just add to the total charm of the event. 

{the bridesmaids}

We are no longer in the days where every bridesmaid dress has to match. 
I'm not sure why some are in black and some are in various colored dresses, but I'm assuming the colors are the sisters and the black are the additional bridesmaids? Either way, it's a great touch. 
The bouquets are beautiful as well.  And the rainboots...Oooooh the rainboots!
While I may not know the meaning behind all of it, I love the you can easily tell she had a purpose and reason for how to did things. She didn't just accept the typical 
"this is how it's always been done" wedding rules. 
Be encouraged to break the rules, ladies!
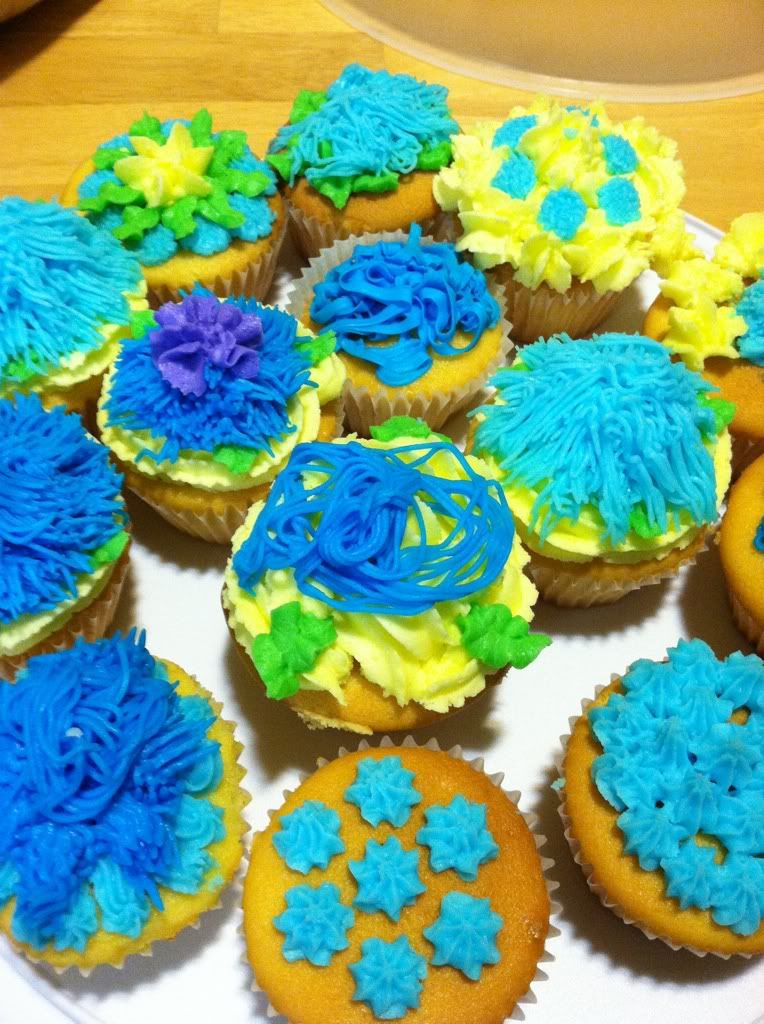
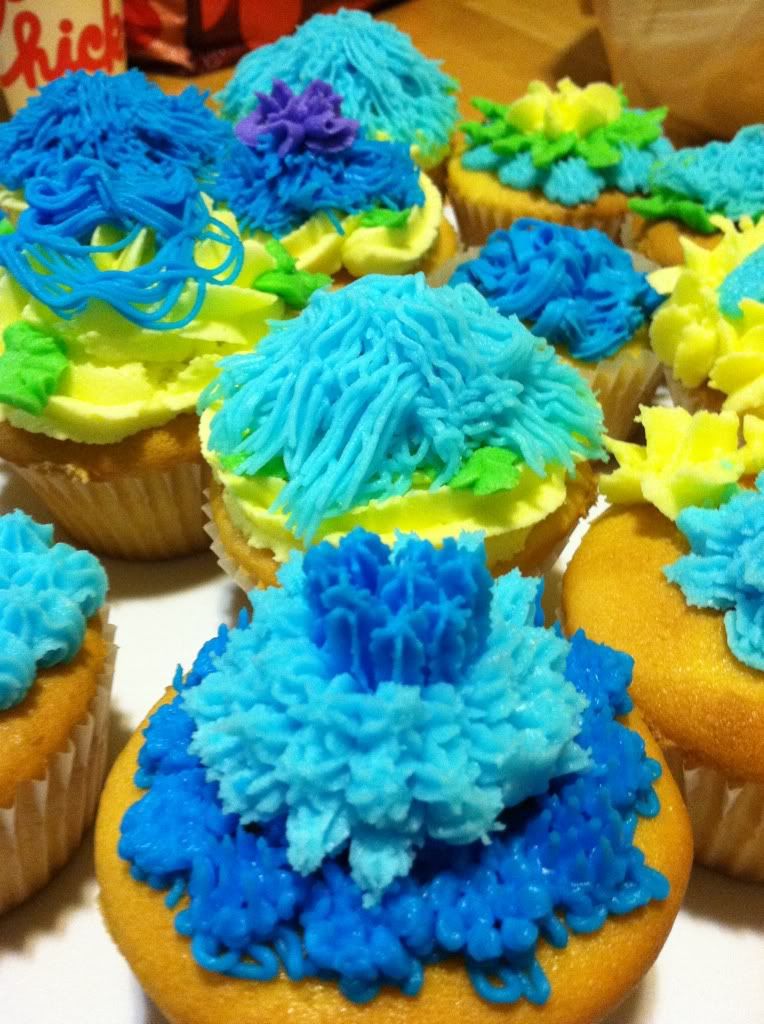
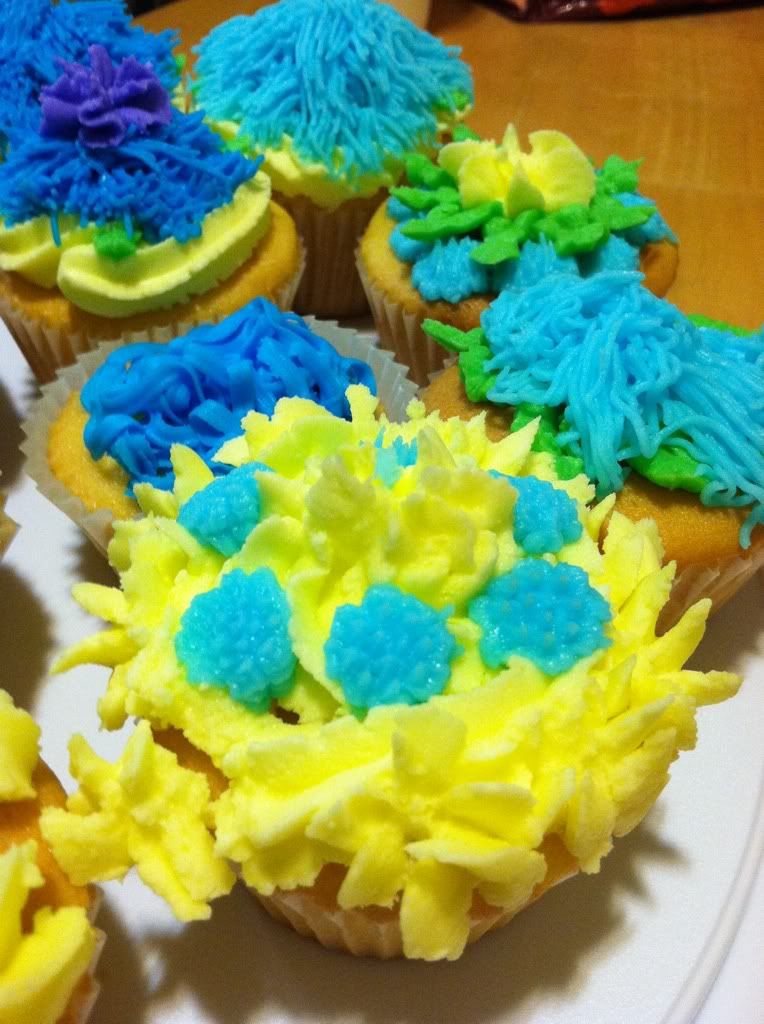
{the dessert table} 

Oh my, my! 
This may be one of my favorite touches. 
Garrett and I had apple pie at our wedding, but now individually baked little sweeties!
Wowzers! I love this touch and I love that guests get to take home something they're actually going to eat and enjoy eating! This is a ten in my book. A ten, folks. 
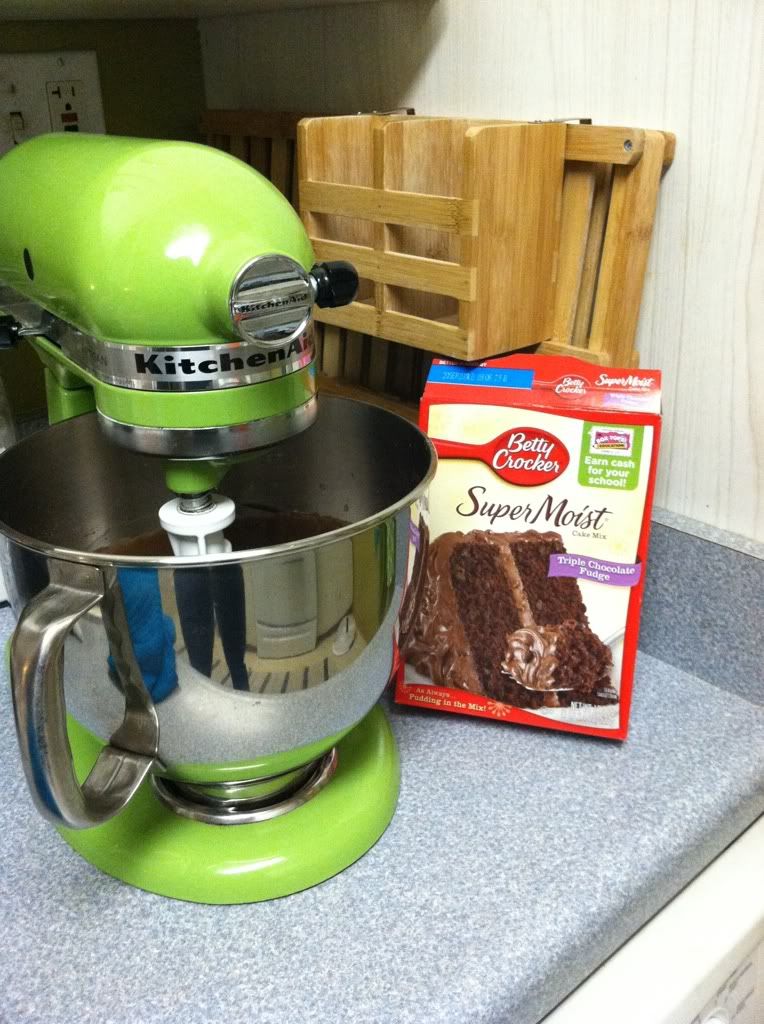
And, when I read up on how they did it, it was surprisingly really easy! :)

The only thing about my little evaluation is that I'm looking at it all from the eye of the photographer. So I of course have to give kudos to Sara for capturing the beauty that was this wedding. 
And I hope these complete strangers don't mind me blogging about their lovely day. 
It all started with the apple pie jars, but I couldn't just post pictures of those when 
there was so many other gorgeous elements to be seen!

Makes me want to have another ceremony! 
What do ya think, G? :)

Friday, March 4, 2011

Cake Class #3

The 3rd week of cake class we made mini-cakes. My favorite. Known to the general population as cupcakes, these little treats are just the right amount of goodness. They are also more aesthetically pleasing to my eye as I tend to like looking at a collection of lots of things more than I do just one piece.

Case in point:


These are a collection of Lyndsey and my creations. So fun to make, and it felt a lot harder to mess these up. :) We loved using the stringy icing tip. Our instructor said it could also be used to make little monsters. I thought that'd be a cute idea for a kid's birthday or for Halloween. :) Just sayin'.

Cake Class #2

So it's been a little busy. I missed Cake Class #2 due to being sick. Coughing up a storm. I made a cake but didn't get to decorate it. I'm not sure that I've ever made a cake before, so I can go ahead and mark that off of my list of things to do before I do. I used a basic box cake. Chocolate of course. :) 


After the cake baked and cooled, I cut it in half. Then I put a ring of frosting around the outside of one layer, to create a barrier. I then filled the inside of the barrier with chocolate pudding. You can put any kind of filling that you want on the inside.


Here's Lyndsey adding her icing barrier to her cake. 


Once the filling is added, you can put on the other half of the cake. In order to have a smoother surface to ice, you can use the bottom of the cake. Meaning, if you cut the cake in half, use the top half as the bottom, and the bottom half, flipped over, the side that was next to the pan, as the top. It's usually a little less crumbly. 

The next thing you want to do is do a crumb layer of icing. This is the pre-icing, to try and catch all of the crumbs in a first icing layer. It looks something like this: 


Once the crumb layer is on, let it dry for about 20 minutes. This will make the final layer of icing easier to apply, and should catch most of your crumbs, so they don't show up in the top layer.


Finally, you're going add the final layer of icing. You want to make it as smooth as possible. It's a little difficult and takes a lot more patience than I'm usually able to muster. I have ended up saying not nice things to my cakes both times I've tried to ice them. I guess I need to practice a little more. :)