Showing posts with label crafting. Show all posts

Friday, August 19, 2011

Do it Yourself: Framed Fabric

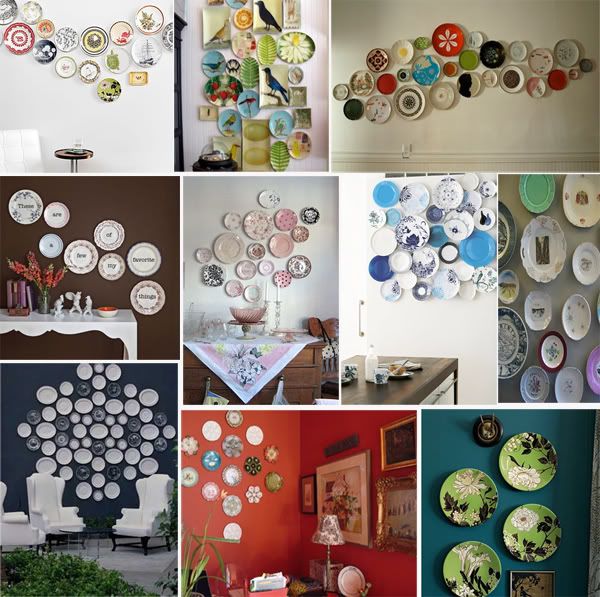
For the three years we've lived in our little apartment, I've had 3 plates hanging on the wall in the kitchen. I love the idea of plates hanging on a wall. I ripped out a page from a magazine several years ago with plates that had various shades of green and gold hung on the wall. But in that case, as in most, there are several plates involved. For example:


Awesome, right?

But, I don't have that many plates right now. It's something you've got to work at over time. (grin)
Hand picking just the right combination of plates from various estate sales and thrift stores till your collection just can't keep itself off of your walls!

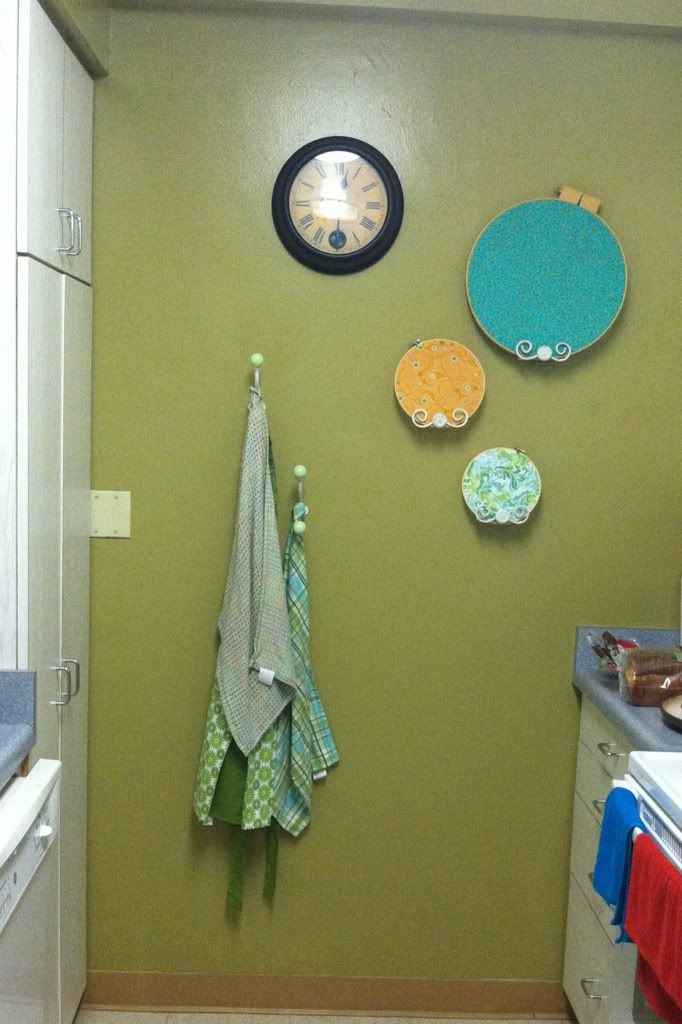
You can see my measley attempt at a wall hang in the corner of this picture. 
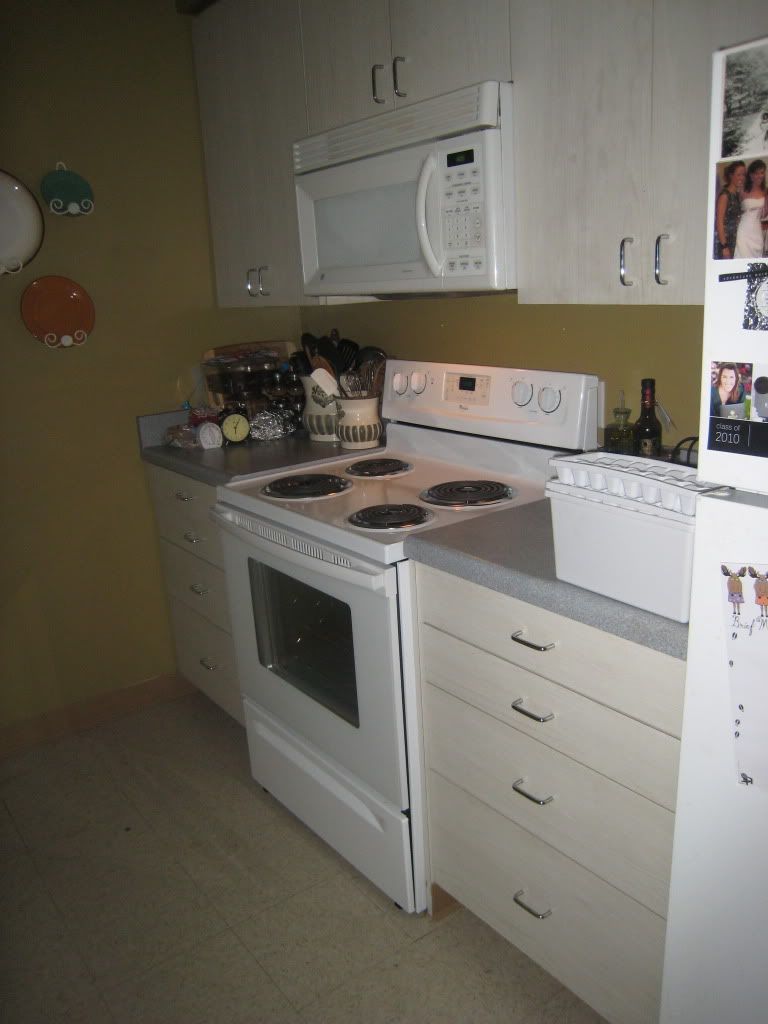

And again in this picture...
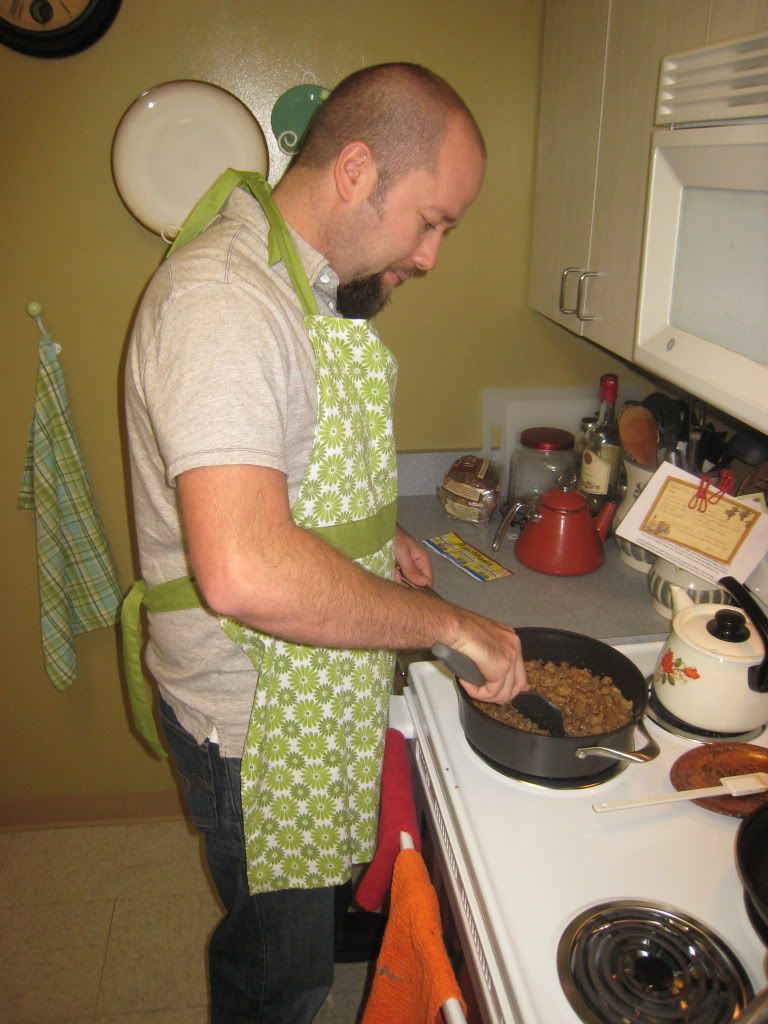

Ok, let's be honest. I just wanted to show you my sweet husband in a pretty apron. :)
One more time...
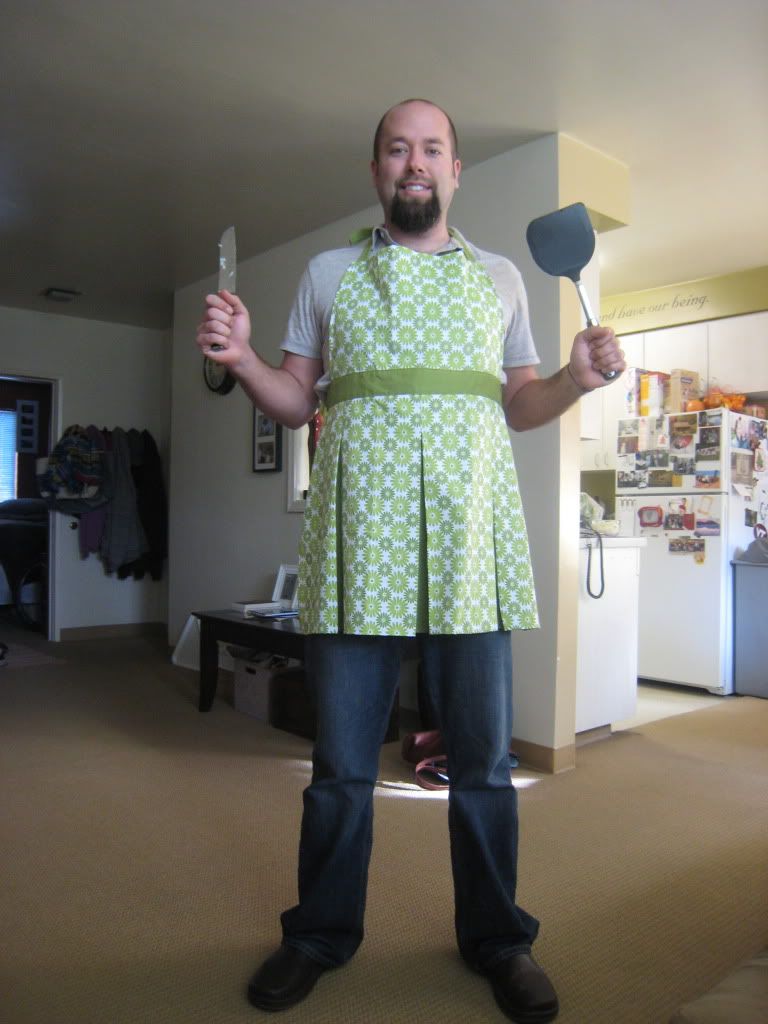

Haha. Well played, baby. Well played.

ANYWAYS...I have three plates. 
They aren't pretty, hand-picked estate sale plates, and I need the big one to serve deliciousness in from time to time.  

So they had to come down.

I needed something else. Something that would go in the plate holders that I'd already screwed into the wall. (Sorry, facilities!) Something, cheap, quick and round...

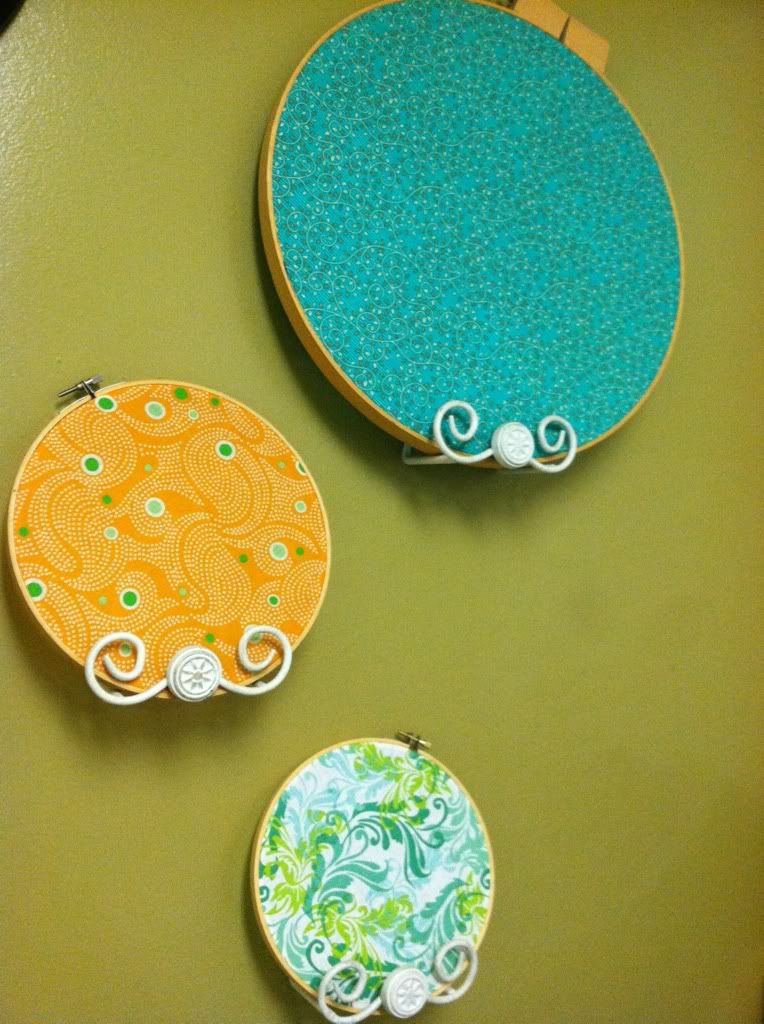
Embroidery hoops + Pretty fabric = cheap, quick and round!

I can't recall where I originally saw this idea, but I've wanted to try it for a while.

Here's the quick how to:

#1 Pick out some pretty fabrics. I just grabbed a couple of the small fabric quarters at Joanne's. 
I think they were something like .99 a piece. 
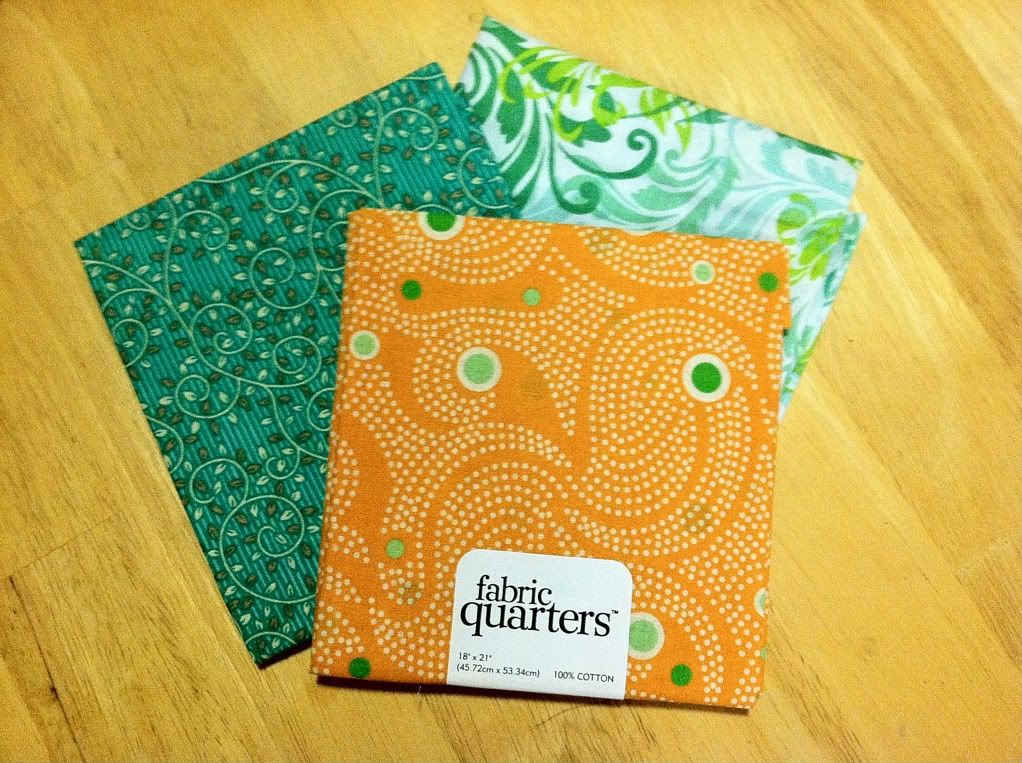

Then I picked up some embroidery hoops at a thrift store, ranging from 50 cents to a dollar a piece.
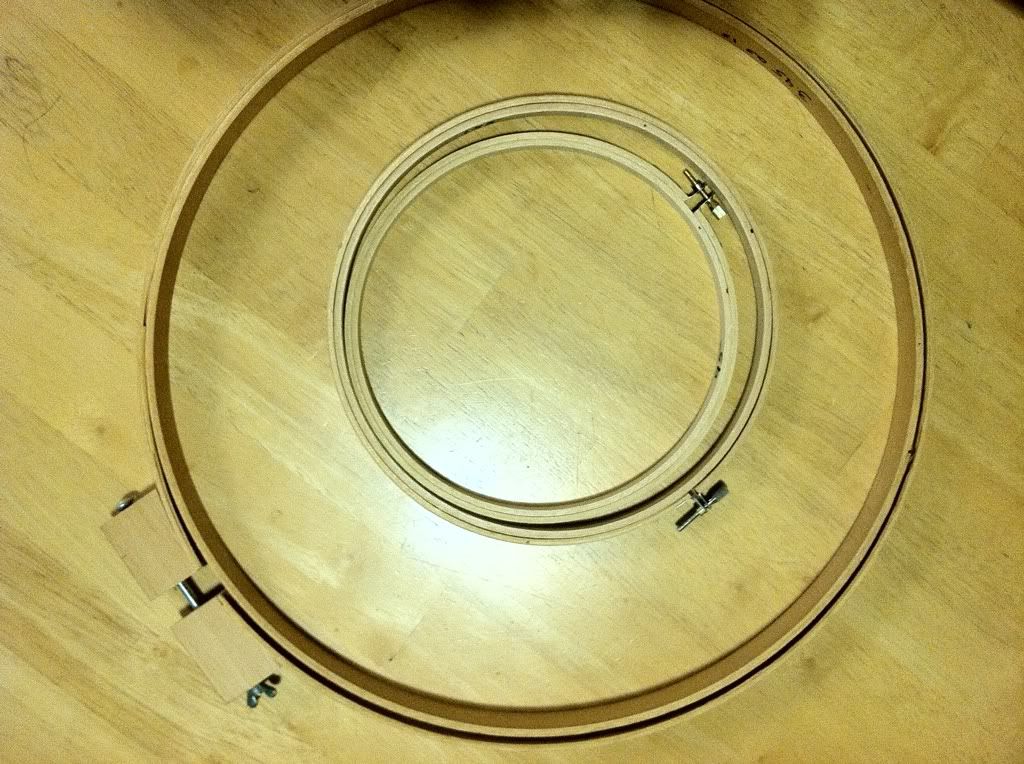

I laid each hoop on the selected fabric, and then cut a generous square out. 
Then I placed the fabric in the hoop, stretched it taut, and tightened the hoop down. 
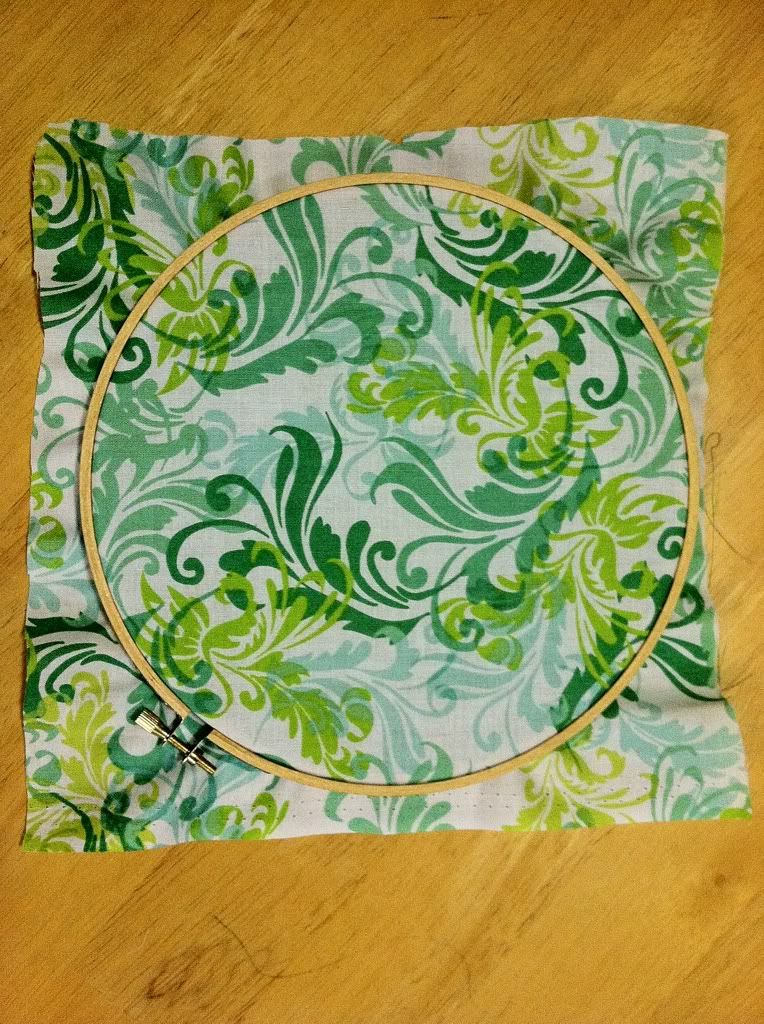

I then flipped the hoop over, and cut the excess fabric off with a sharp pair of fabric scissors. 
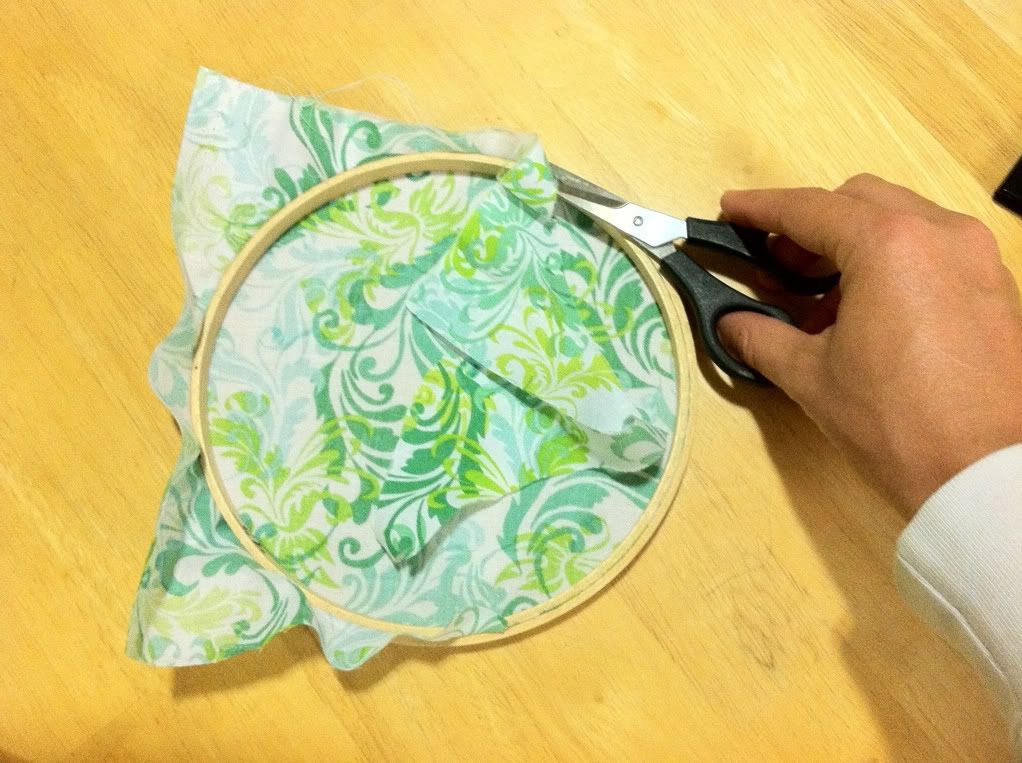

Flip it over. 
Done! 


I feel silly even making a tutorial. Ha! 

Aaaaaaand, put it on your wall! 
Ding!


This whole process took...abooooout...15 minutes. Tops. 
Cheap. Quick. Effective. 

For more ideas on what you can do with embroidery hoops and 
fabric (like use it as a pinboard!), check out some of these creative crafts on Etsy!

:)

Wednesday, August 17, 2011

Red, White and...Candy!

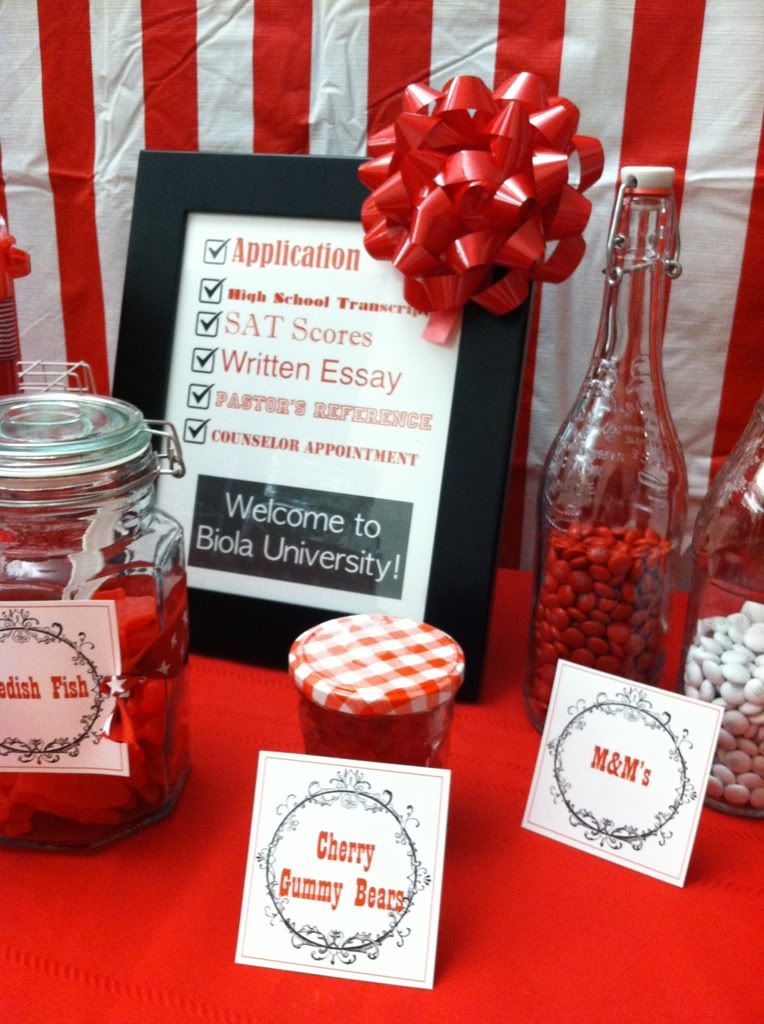
Opening Weekend for Biola University is just two days away! It's crazy that all our work in Admissions for this year is about to step on campus in the form of new-freshman-college-students! 
We are pumped. 

And frankly, so is the rest of campus! 
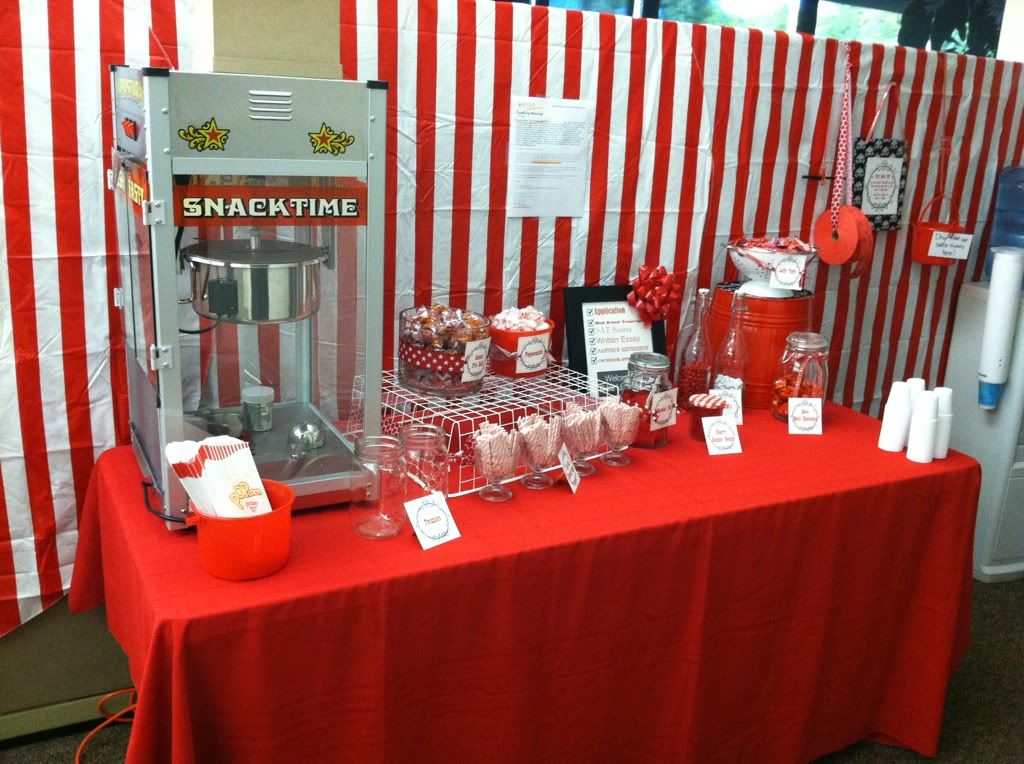
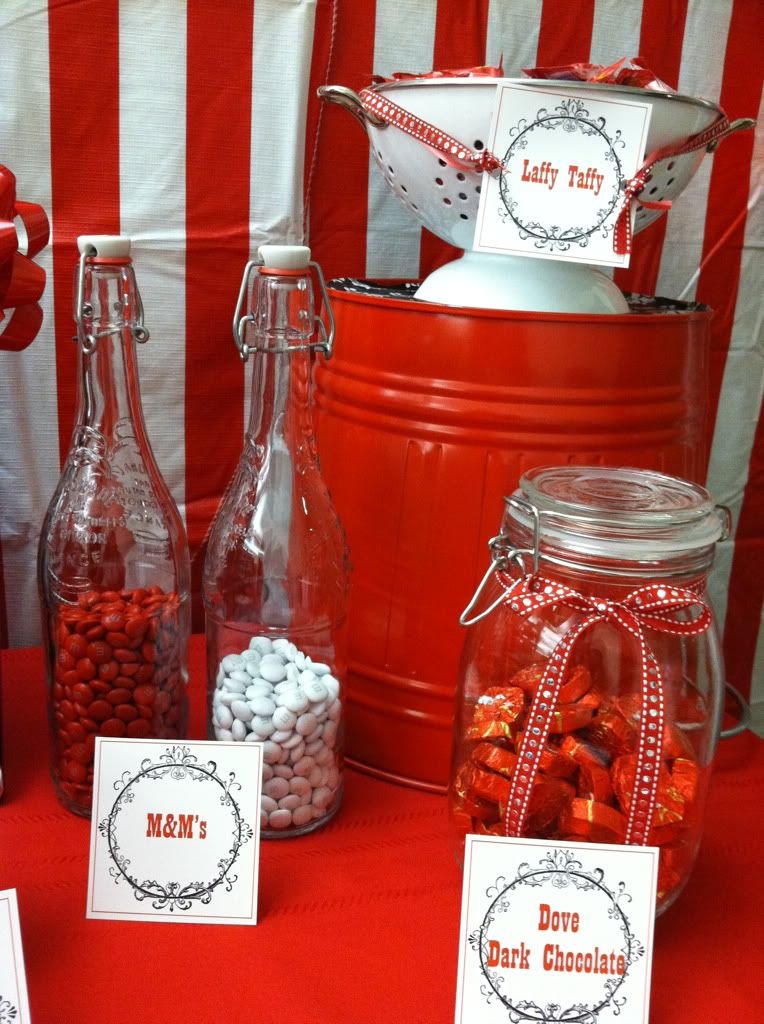
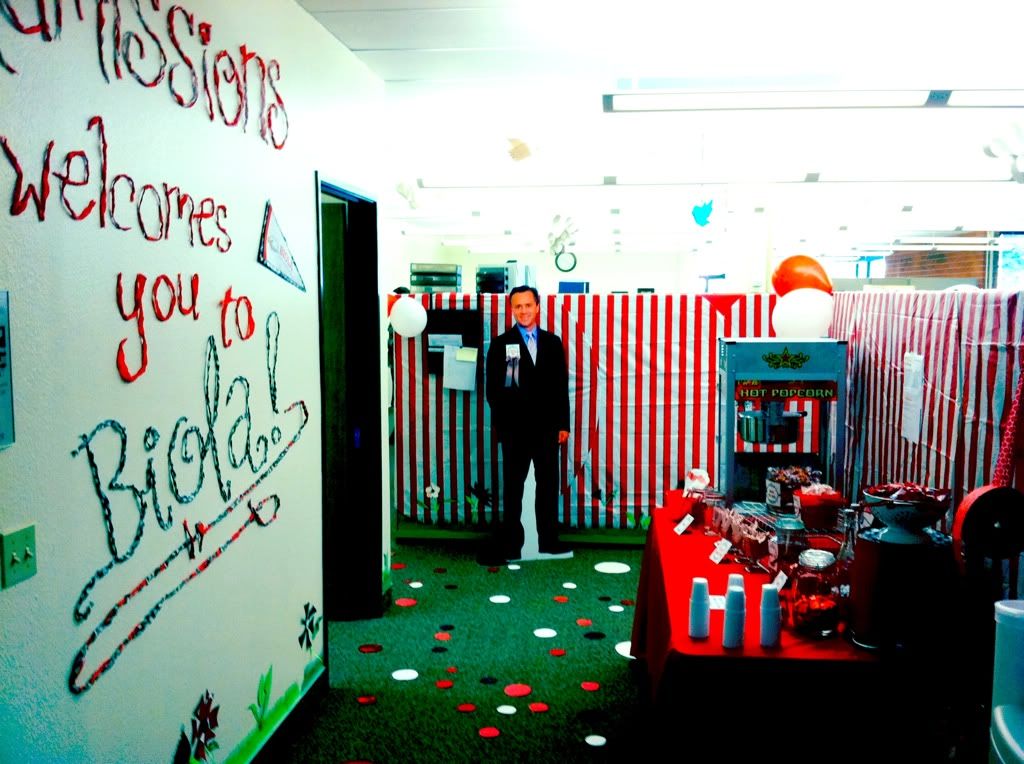
Every department decorates their entrance so as students arrive, they see-a-sea of red and white! 
This year, a couple of girls and myself signed up to be on the decorating committee. 
I put together the table area, and they did the floor, wall welcome, and ceiling.


The paper on the wall is a "Scathing Warning" to our staff not to touch the candy. :) 
It's for our guests!


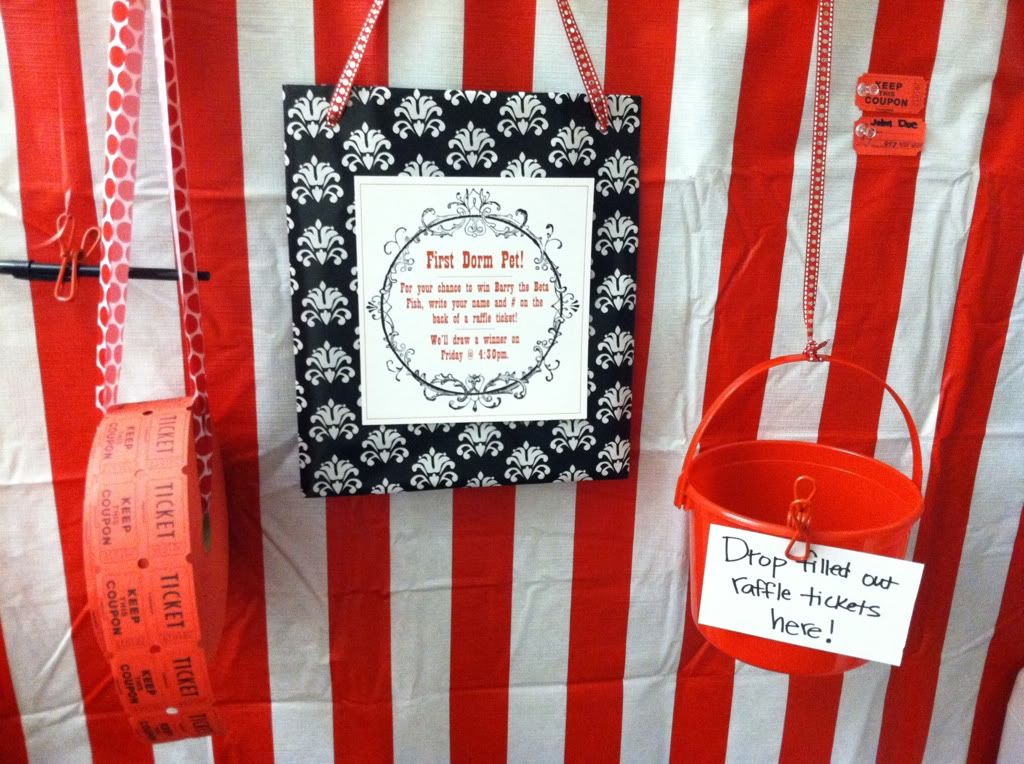
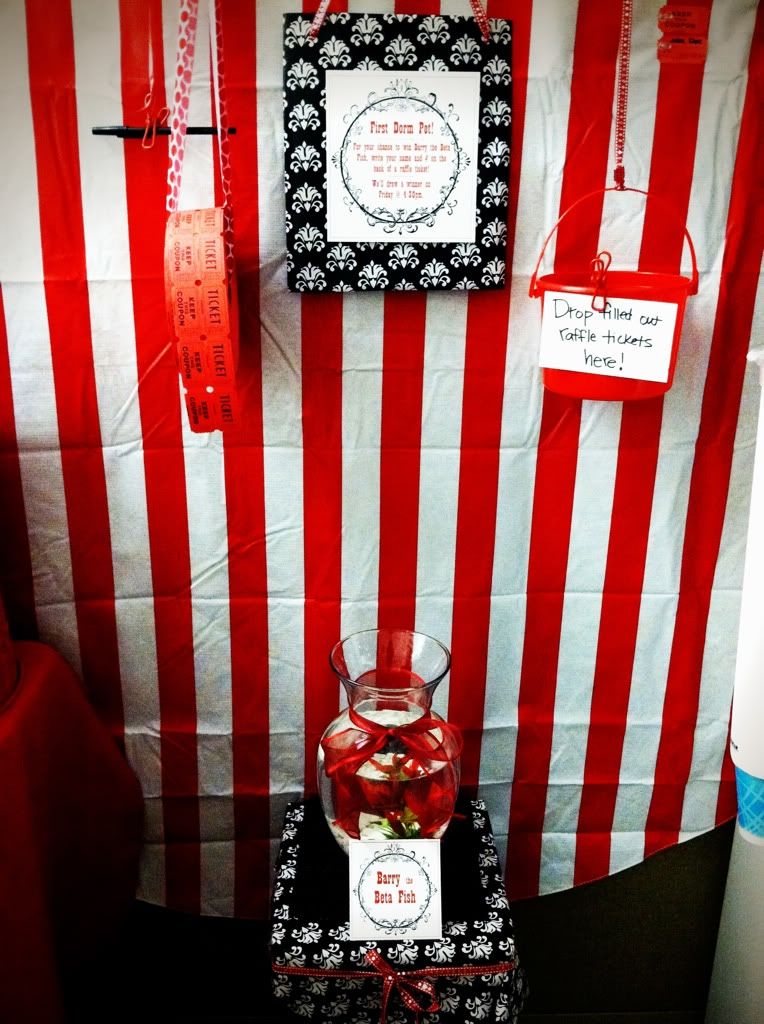
We are also doing a giveaway for new freshman and transfers. 
They can win their first dorm pet! :)
You can't see the writing very well here, but it says that in order to win 
"Barry the Beta Fish" (named after our school's president) they need to fill out 
a raffle ticket and drop it in the bucket. Yes, Barry the Beta is also a lovely shade of red.


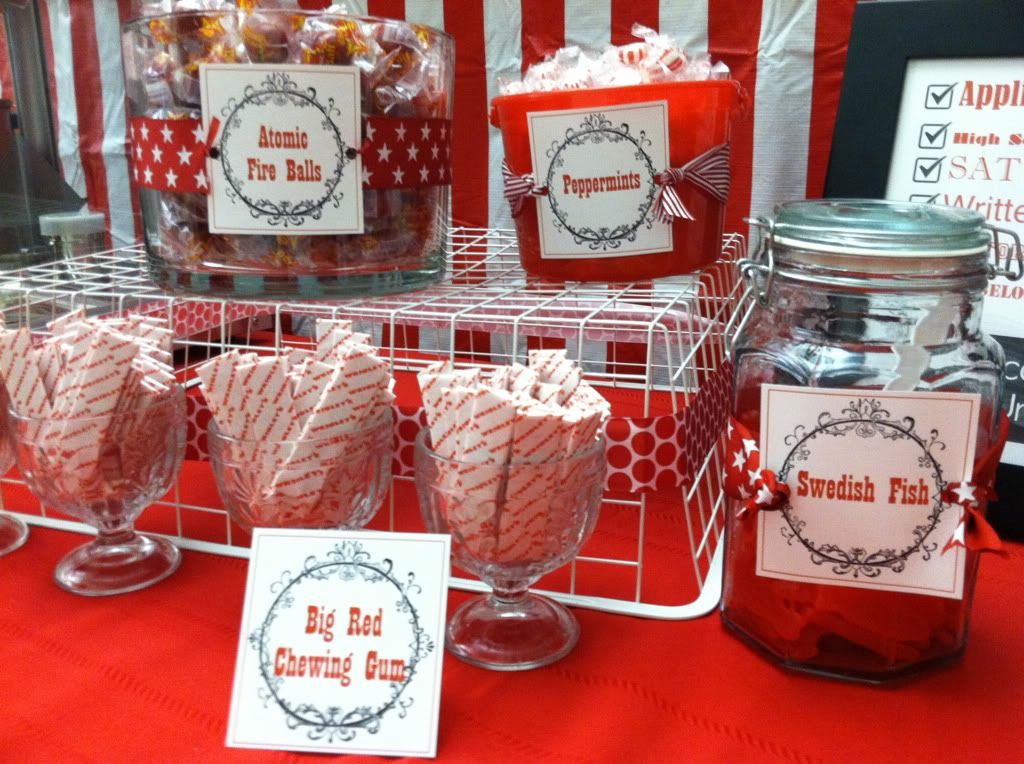
The circle graphic I took of of The Graphics Fairy blog. 
She has some really unique graphics that you can use for all kinds of projects. 
My favorite, though, are the labels. You can use them for so much! 


I dropped the label image into Pages, a program on macs, and added the text. 
It made for easy labels that I think really helped pull the look together. Other than that, I just bought every white and red candy I could find, took random jars from my kitchen and put it all together. 

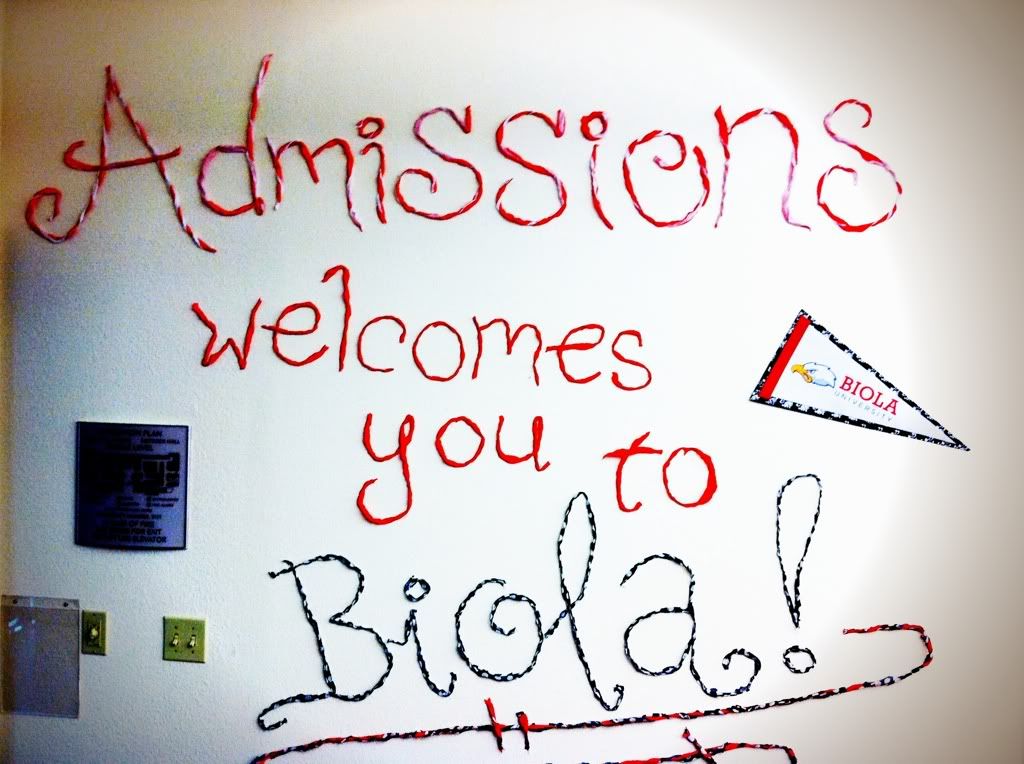
Alyssa used streamers that she twisted to write a welcome on the wall. 


They also made polka dots and lined the floor as well as grass, birds, and clouds! 


Definitely a fun day in the office! :) 

Sunday, August 7, 2011

Do it Yourself: Diaper Cake

I haven't had a chance to write about our summer. Garrett and I get two glorious months off during the summer, and we try our darndest not to take it for granted. It is such a HUGE blessings. Uh-mazing.
Maybe, if I can muck up the motivation, I'll write a post about the highlights of our summer. Two months is just a lot. I'll think about it. :)

But one of the weeks this summer we spent at Rachel and Jason's, the Roanoke Suhrs, enjoying their company and playing with our nieces and nephews. I also got the privilege of doing a project for a baby shower Rachel was throwing for one of her friends.

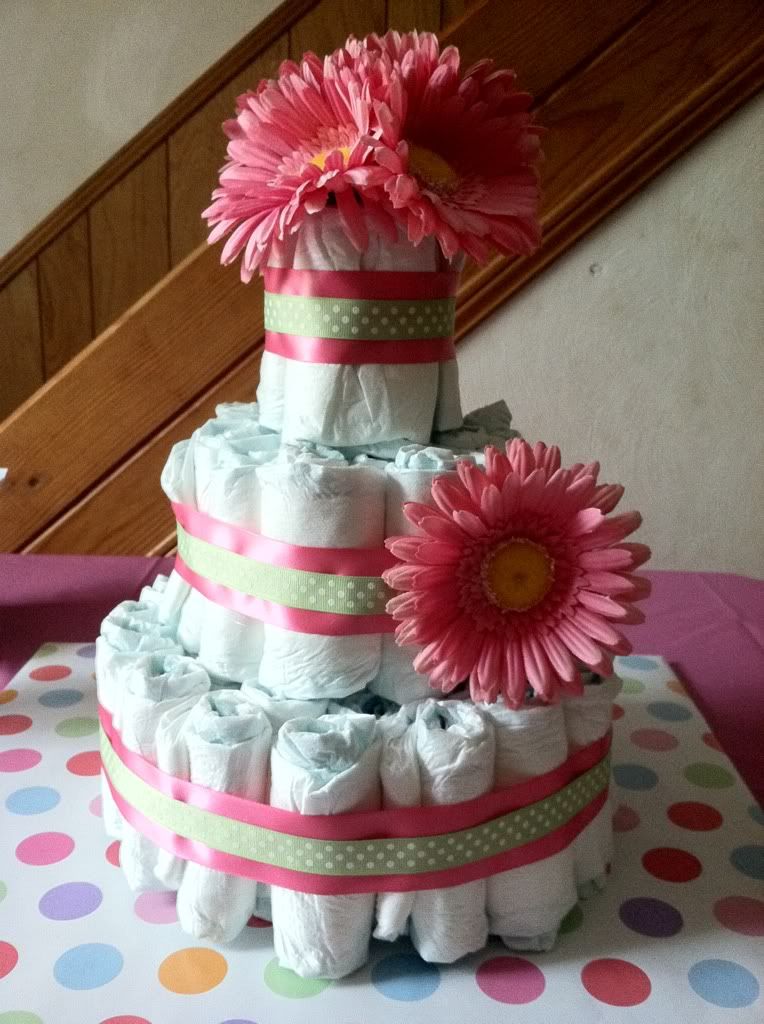
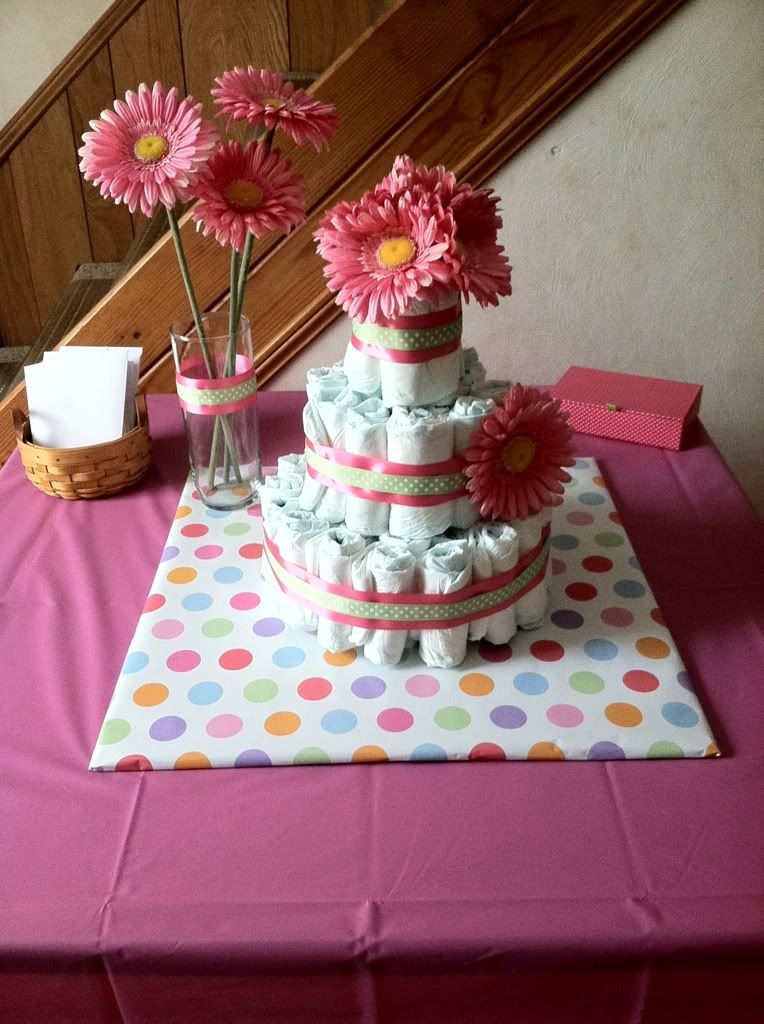
I've been to a fair share of baby showers, and seen diaper cakes there before. Never did I think I'd end up making one. It was actually very easy, totally repeatable, and pretty cute!

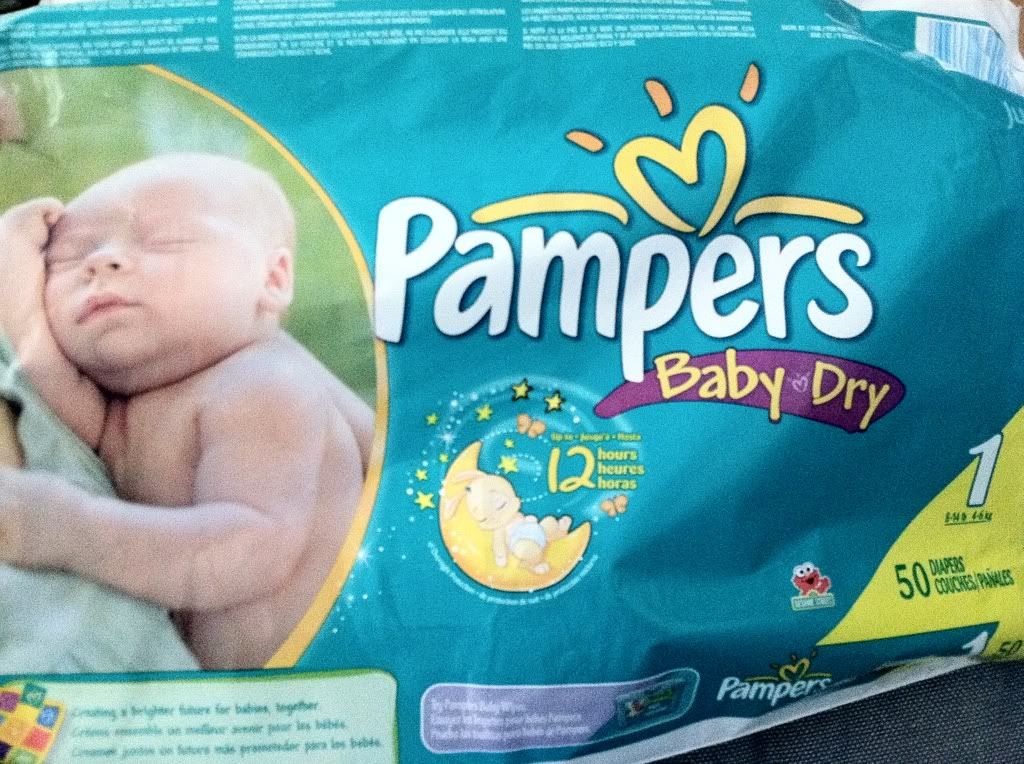
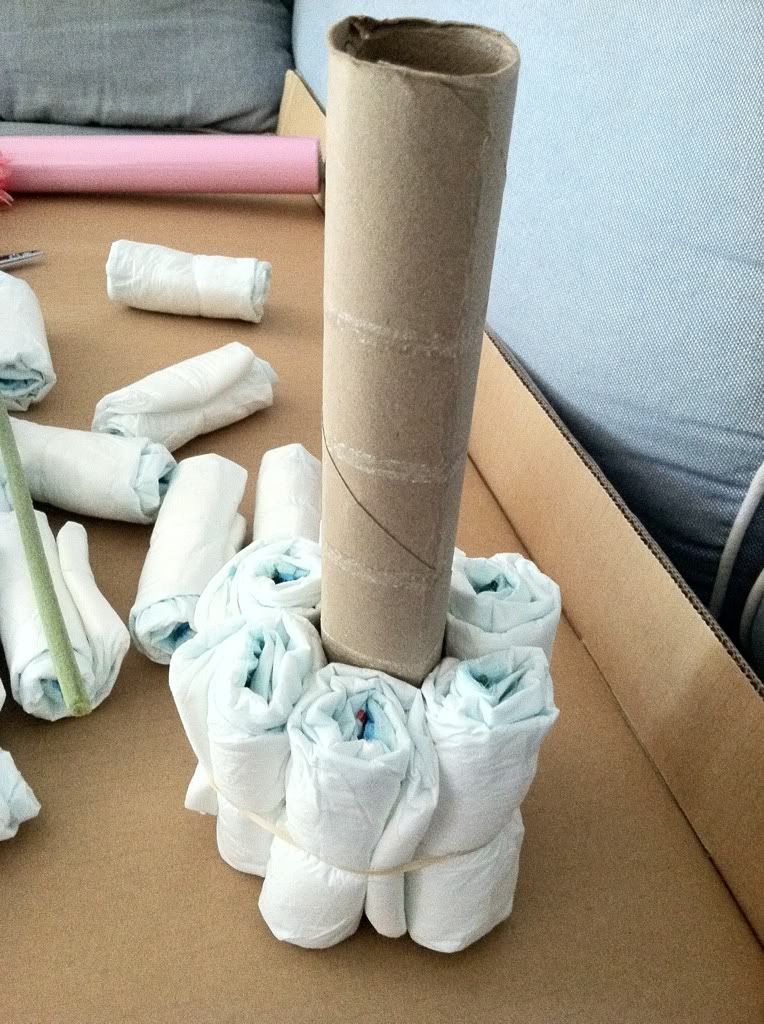
#1 Grab a pack of diapers! I used a pack with 50 diapers and it made a medium sized diaper cake. 


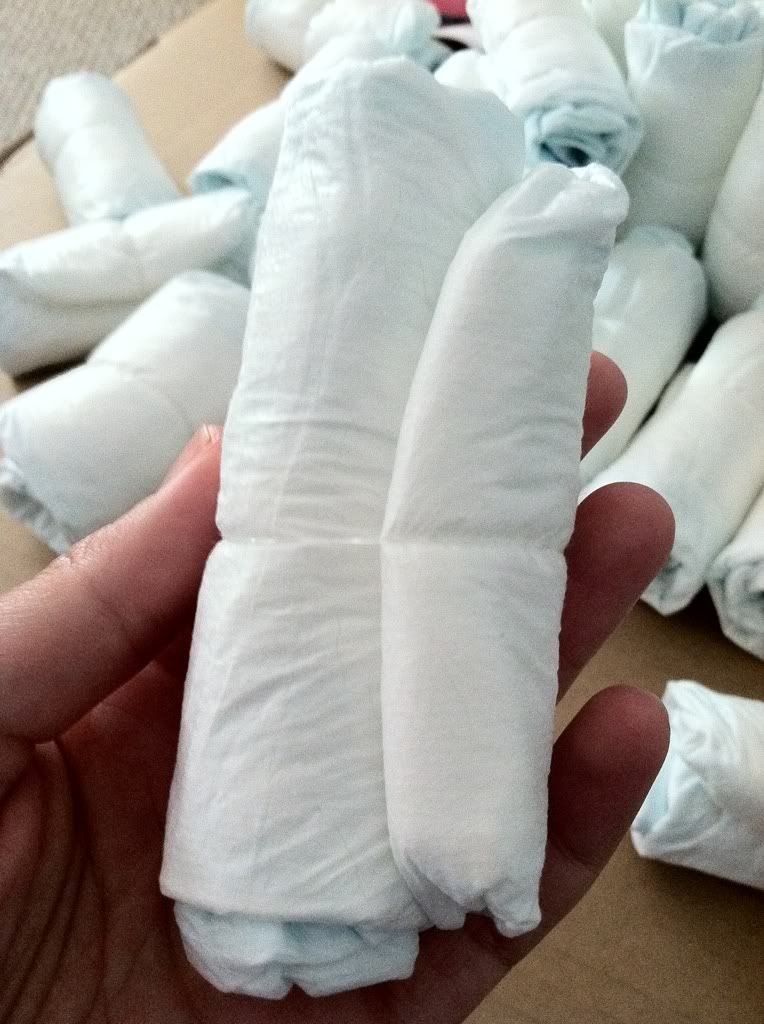
#2 Roll each of the diapers and put a small, clear rubber band around each one to hold it in place. 


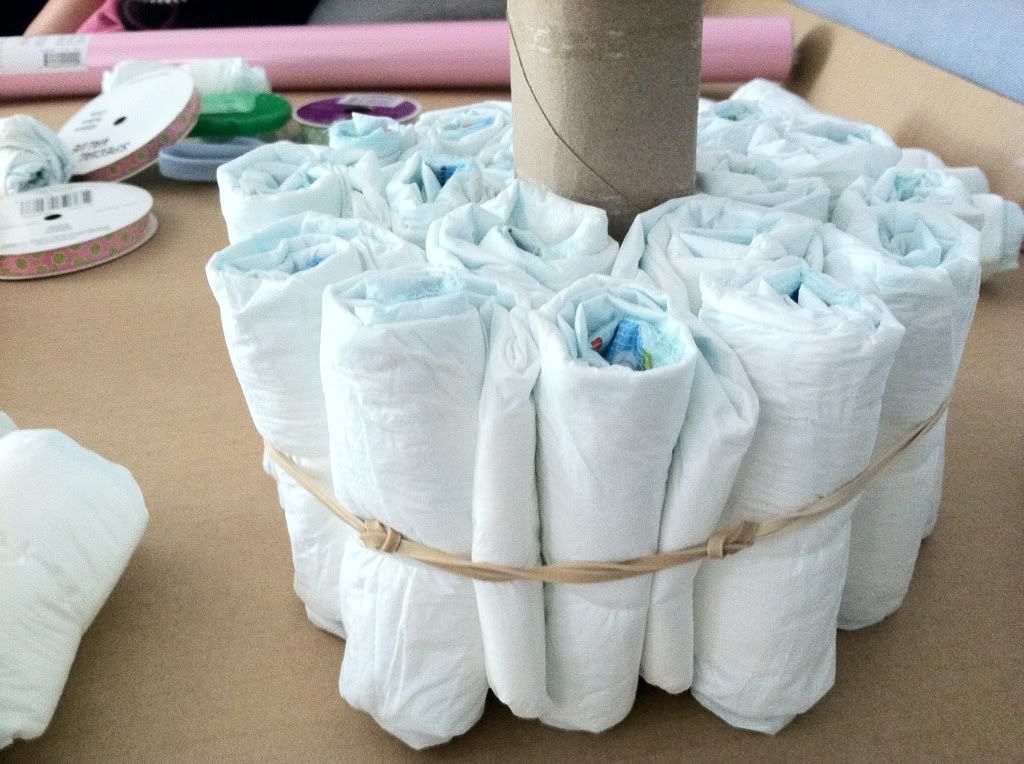
#3 Use a paper towel roll to begin building your base. Use more diapers on the bottom, and pyramid your way up. Do one layer around the paper towel roll and hold them together with a large rubber band, or multiple rubber bands tied together. 


#4 Do a second layer of diapers on the bottom. You'll have to figure out how many diapers you want for each layer. I don't remember my exact counts, but with 50 diapers it was something like 28 on the bottom, 14 in the middle, and 8 on top. Notice we tied rubber bands together to make a larger one. The middle level was just one layer around, and the top level, I actually scrunched the paper towel roll together so the top level would be smaller than the one below it. 


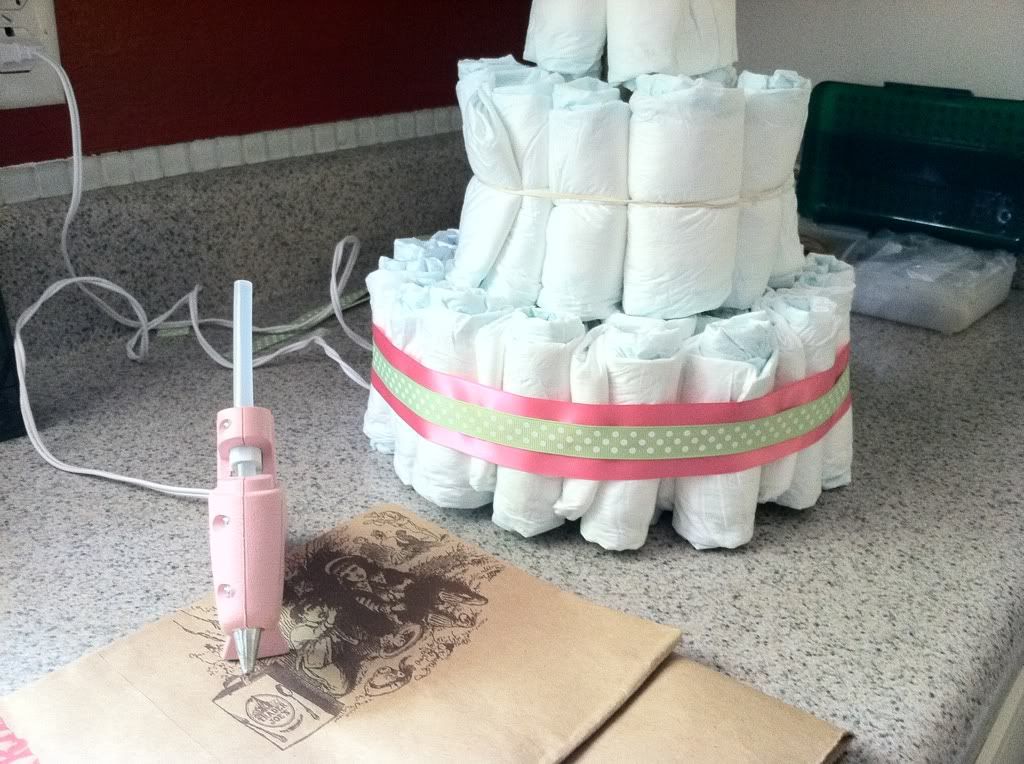
#5 Use the colors from the baby shower theme to pick your ribbon and accessories. We used a hot glue gun to glue the two ribbons together, and then we used a small pink paper clip to attach the ends at the back of the cake onto the rubber band underneath. Do this for each layer. *Note: It helped to have a second pair of hands when it came to using the glue gun. Rachel ran the gun down the center of the pink ribbon and I followed right behind, lining up the green ribbon with the glue. 


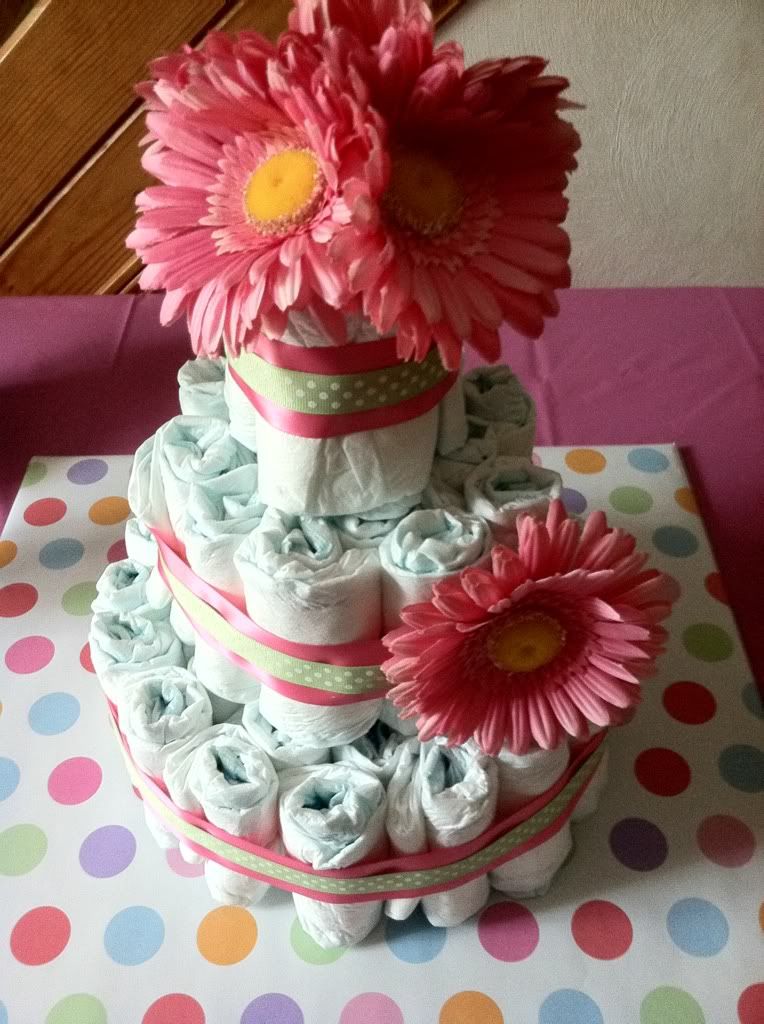
#6 Gerber daisies were my accessory. I cut one off at the head of the flower, and then cut the others so that when I stood them up in the paper towel roll, they were just peeking up over the top of the cake. I used a cardboard box and cut a stand out, and then wrapped it in corresponding wrapping paper. 


Very easy to do, and with pretty results! If anybody tries this out for a baby shower, I'd love to see the colors you pick and your accessories. For a boy, I think you could do any type of little toy alongside it, or spell out their name, or just use the first letter. Lots of options! :)

Saturday, April 16, 2011

Do It Yourself: Chalkboard

I finally finished a project! 
I'm not always the greatest at following through, and this project did take me a while. 
I started with a piece of galvanized metal, some primer, and chalkboard paint. 
I sanded the metal a little, I guess to take the smoother surface of it off? 
Not totally sure what the purpose of that was. Ha!
I started with a little foam brush, and switched to a regular paint brush. 


The regular paintbrush left some lines on the board.
So after the first coat, I switched to a foam roller.
I did three coats total and then let it dry. 


After searching for a square frame that fit my board for a couple of months, I finally found one. 
Marshall's. $10. And my piece of galvanized, chalk-painted, steel fit perfectly into the frame. Glorious.


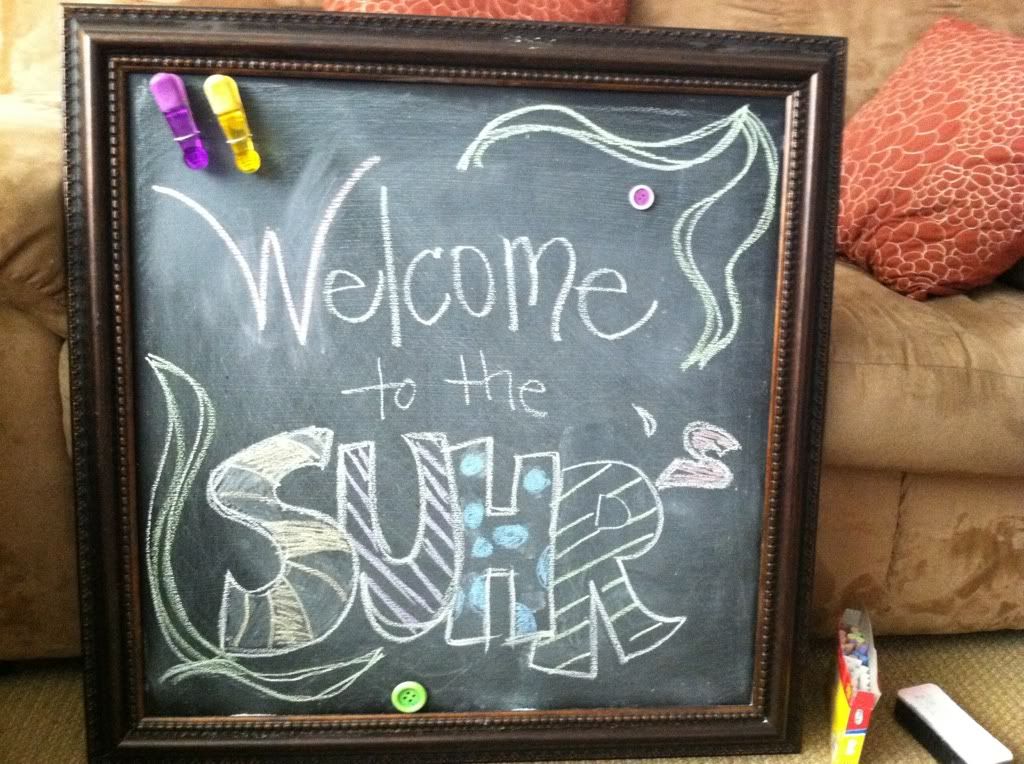
It's a chalkboard. 
It's magnetic. 
And if you walk in our front door, you'll see it on our wall. 
Project complete. 

Tuesday, March 22, 2011

Marriage License

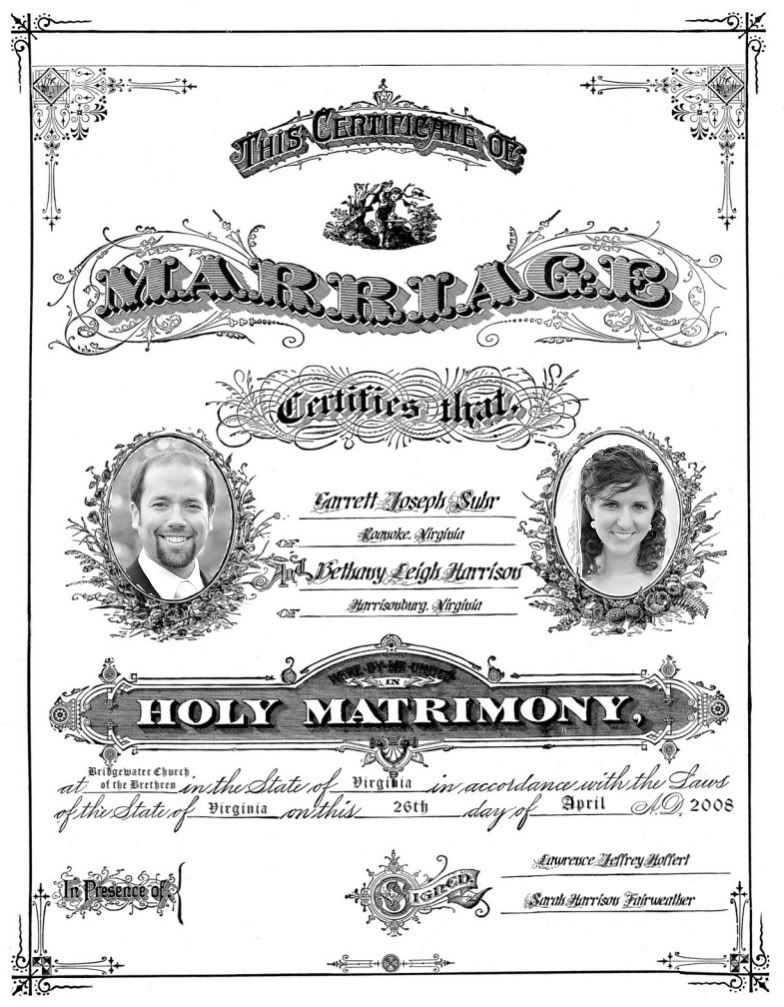
I found this cool old marriage license graphic from The Graphics Fairy and instantly knew I wanted to add our information to it and make a print to hang in our house. Our marriage license just doesn't look quite as cool. :)

 Here's the before, blank.

And the after, with us included. :) 

Super fun, and pretty easy to do. 
I just have to print it out and make sure that it turns out ok. :) 

Hooray for an evening computer experiment!


Wednesday, February 9, 2011

Shower Curtain of my Dreams

I could make this, right? 
What do you think, MB? Project? 
This would teach me how to sew, I'm sure! 


So amazingly delicious! 

Monday, November 15, 2010

Saturday = Productivity

Saturday was a busy day in the Southern California Suhr household apartment. We slept in a little. Garrett made a delicious breakfast of eggs, sausage, english muffins with blueberry preserves and even a pot of coffee! We then finished Season 5 of The Office with Jim and Pam expecting a little one, and decided it was time to work on some projects that we've had lying around for a while. 

Garrett was busy sanding a desk that we bought on Biola's Classifieds. It's a little like a roll top desk, but it's more of a flip top desk. I love it because it can hold our messes a bit, and the top can just be flipped down when people come over, instead of constantly trying to keep the place kept up. :)

Here's a picture of the desk with the lid off. Garrett does good work.


I'm working on trying to figure out the best way to make a Magnetic Chalkboard. I realize I could probably buy one, but if I can figure out how to make them, and frame them cute enough, maybe I could sell them. :) And fund MORE crafting projects, eh? I bought a piece of galvanized steel at Home Depot (or maybe it was Lowe's?), some primer, and chalkboard paint. I sanded the steel to make sure it was nice and smooth, added a couple coats of primer, and then started in with the chalkboard paint. 


The only thing I'm not sure about are the lines. They weren't nearly as bad after it dried, but I think the paint brush I used left more lines than I was expecting. The paint has been drying the past couple of days, I think I'm going to try and roll on another layer of paint to see if a roller works better. 


I'll post some pictures once I've gotten the next coat on. 
I still need to find a frame that will fit a large, square piece of metal. :) 

It's fun to be creating, though. :) It's just fun to have a life back after such a crazy fall! 
Yeehaw!